The desire for a modern bathroom is leading more and more people to opt for installing a walk-in shower at home. Its minimalist look, the accessibility it offers, and the comfort are all appealing factors. However, this type of project cannot be improvised and involves several distinct technical steps. Discover how to successfully carry out this transformation, from floor preparation to the installation of wall and floor tiles, including managing waterproofing and the drainage system.
📋 Key points: If I want to install a walk-in shower at home, I must especially anticipate the drainage, waterproofing, and floor slope. A slope of 1 to 3% is generally recommended to avoid poor water drainage. Properly prepared, a walk-in shower provides a real aesthetic gain, improves circulation in the bathroom, and often increases the property’s value.
Why choose a walk-in shower?
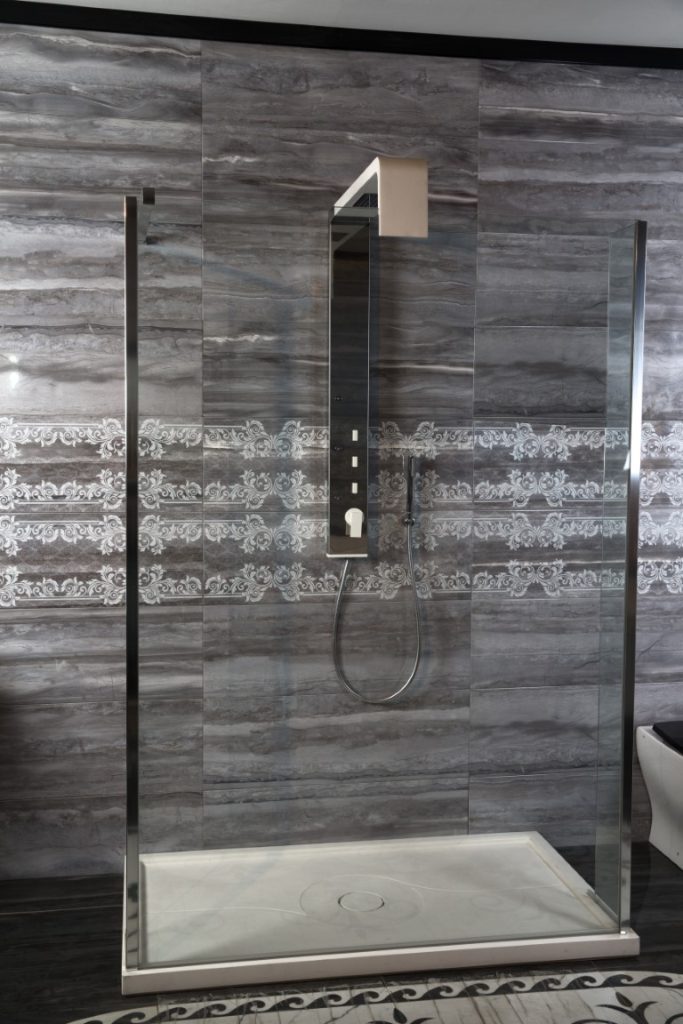
The main appeal of the walk-in shower lies in its step-free accessibility, which greatly facilitates access for everyone, including people with reduced mobility or children. Moreover, it immediately adds a contemporary touch to any bathroom, enhancing the property’s market value in the process.
💬 Personal anecdote: I helped install a walk-in shower in a bathroom of about 5 m² during a renovation. At first, everything seemed perfect, but an insufficient slope of just a few millimeters created a persistent puddle after each shower. I learned one thing: a few millimeters can change everyday comfort completely.
Equipping yourself with a walk-in shower also allows you to personalize the room through a wide choice of finishes for non-slip tiles, and to adapt the dimensions down to the centimeter. There are even solutions for small spaces, allowing every interior to benefit from these advantages.
Bathroom and floor preparation
No successful project begins without good preparation. To accommodate a walk-in shower installation, analyzing the existing configuration is crucial. If you are not sure you can perform these checks yourself, it is possible to find a professional with Trustup. The surface must be perfectly flat and sufficiently spacious to accommodate this type of shower, which is generally more open than the classic version with a tray or cabin.
| Element | Recommended value | Average time | Average budget |
|---|---|---|---|
| Drainage slope | 1 to 3 % | – | – |
| Waterproofing | 2 coats | 2 h | 30 to 80 € |
| Extra-flat shower tray | 3 to 5 cm | 1 h | 100 to 500 € |
| Tiling | 30 x 30 to 60 x 60 cm | 4 to 8 h | 20 to 100 €/m² |
| Complete project | – | 1 to 3 days | 500 to 3000 €+ |
Also check the nature of your floor: a load-bearing support such as a concrete slab greatly simplifies the task, while a wooden floor will require more precautions during the implementation of waterproofing and the drainage system. You must also anticipate access to the plumbing network to then ensure the proper plumbing connection.
The first technical steps
🌍 Did you know?
Walk-in showers are among the most sought-after features during bathroom renovations and can improve a property’s appeal when reselling.
How important is floor preparation?
The success of any walk-in shower installation largely depends on floor preparation. A clean, dry, and solid base prevents many later issues such as water infiltration or poor drainage. This step often involves removing the old covering and then performing a leveling compound if the floor has significant irregularities.
⚠️ Common mistake
Thinking that tiles alone are enough to prevent infiltration is a common mistake. Without a membrane or waterproofing system beneath the covering, damage can appear several months later.
Take the time to check the floor level with a spirit level and adjust if necessary. Perfect drainage for the future shower requires a gentle slope of at least 1 to 2 cm per meter towards the drain.
Why pay attention to the drainage system?
The drainage system remains the technical core of a walk-in shower. It affects not only user comfort but also the longevity of the installations. Indeed, gravity drainage requires that the drain be located lower than the finished floor level, which may require some adaptations in certain older homes or those with raised floors.
Several types of traps exist: with vertical or horizontal outlet, linear grille (channel) or centered drain. Before choosing one, assess the space under the floor and the pipe diameter to avoid future blockages.
Installing a walk-in shower: step-by-step method
🔧 Tip
Plan for a minimum width of 90 cm to maintain comfortable movement and a sense of space in the shower.
How to install the shower tray or create a raise?
The tileable shower tray is a common option for those seeking a “step-free” effect. This type of base integrates directly into the screed or prepared floor. If the available height is insufficient to fully integrate the drainage system, you will need to use a raise or an extra-flat shower tray. This preserves user comfort while ensuring a sufficient slope for the water.

When installing the shower tray, be sure to carefully adjust around the siphon to avoid any leaks. Do not hesitate to use suitable mortar-adhesive and to check for perfect horizontality or, conversely, the slight desired inclination to ensure smooth drainage.
What treatment should be applied for waterproofing?
A crucial aspect of the walk-in shower installation lies in waterproofing. It serves as the main barrier against infiltrations that could cause serious damage to the floor or adjacent walls. Several solutions exist, such as laying a special membrane or applying liquid resin over all surfaces (floors and corners).
Pay attention to singular points, especially the junctions between floor and wall, as well as around penetrating pipes. Reinforced waterproofing strips are ideal in these areas to ensure total continuity of the protective system.
Plumbing management and specific connections
🌟 The advantages
- Modern design
- Easy access
- Simplified maintenance
🔍 Reservations
- Sometimes heavy work
- Demanding waterproofing
What does the plumbing connection look like?
The plumbing connection includes both the connection of the drainage system and the supply of hot and cold water. Plan to place the water inlets at the appropriate height and ensure their waterproofing with carefully tightened fittings and possibly suitable seals.
In a renovation, it is sometimes necessary to move existing pipes to align them with the future installation of the walk-in shower. Do not neglect to check the pressure and flow rate to guarantee a pleasant use of the new installation.
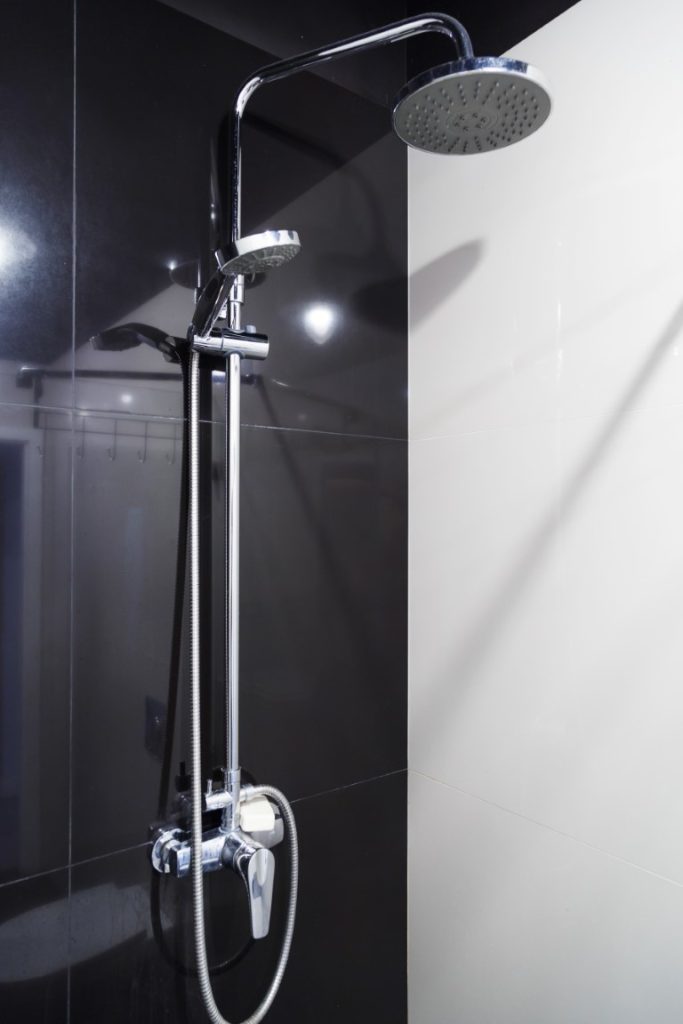
What accessories and equipment should be planned?
There is a whole range of accessories adapted to the walk-in shower, such as wall niches for storage, built-in faucet systems, or fixed glass panels. These elements contribute both to the design and to daily comfort of use.
Some even choose to complement the installation of a walk-in shower with additional safety equipment, such as non-slip grab bars, especially in homes accommodating children or seniors.
Tiling and finishing
Why prioritize non-slip tiles for the floor?
Once the structure is installed and waterproofing completed, comes the crucial choice of covering. Non-slip tiles are highly recommended for the floor, as they significantly reduce the risk of slipping, especially with the permanent presence of water.
Also consider harmonizing the tile style with the rest of the room. Subtle colors visually enlarge the space, while bold patterns bring a touch of originality without compromising safety.
How to successfully install wall and floor tiles?
The installation of wall and floor tiles must maintain the continuity of the previously treated waterproofing, especially at the joints. Use a specific adhesive and create waterproof joints to prevent water infiltration.
Even for experienced DIYers, taking the time to properly align the tiles results in a professional and durable finish. Also consider the size and arrangement of the tiles. For example, large tile formats enhance the “seamless” effect typical of a walk-in shower.
- Precisely determine the location of your walk-in shower and measure the available space.
- Perform the floor preparation, check the necessary slopes, and carry out leveling if needed.
- Install the drainage system before any other technical operation.
- Choose a tileable shower tray or a raising suitable for your floor.
- Ensure perfect waterproofing of the entire concerned area.
- Make the plumbing connections in compliance with current requirements.
- Finish with the installation of wall tiles and anti-slip floor tiles, then install your accessories.
Common mistakes to avoid when installing a walk-in shower
Some mistakes can complicate or jeopardize the success of your project. Omitting the creation of a sufficient slope or neglecting waterproofing are two classic traps leading to water damage or poor drainage. The same goes for choosing a decorative-only anti-slip tile that is not suitable, which may make the entire setup dangerous to use.
Other oversights concern the quality of materials used both for plumbing and for waterproofing profiles. Investing from the start in products designed for the walk-in shower proves wise in the long term. Also avoid underestimating the technical complexity: some tasks, such as relocating the drainage network, often require the intervention of a qualified professional.
What prospects after installing a walk-in shower?
After successfully installing a walk-in shower, daily life in the bathroom takes on a new dimension. Brighter and more spacious, the room gains in functionality and conviviality. Maintenance is easier thanks to the absence of steps or hard-to-reach corners.
It then becomes possible to redesign other elements of the bathroom, whether in terms of decoration or furniture. With a bit of boldness, why not add integrated LED lighting or personalized accessories? The installation of a walk-in shower often marks the starting point of a true transformation of your wellness space.
To prepare the worksite, I recommend installing a shower tray which complements this topic well. Changing a sink also provides useful advice on connections. And to go further, plumbing connection offers interesting insight.
FAQ: Installing a walk-in shower at home
Can a walk-in shower be installed in all bathrooms?
Yes, but it mainly depends on the available height in the floor, the existing drainage, and the possibility of creating a sufficient slope. In some cases, an extra-flat shower tray is simpler than a fully recessed shower.
What slope should be planned for a walk-in shower?
A slope of 1 to 3% is generally recommended to allow water to drain properly. Without a sufficient slope, water can stagnate and cause leaks.
Should a professional be called for the installation?
It is preferable if you are working on the drainage, waterproofing, or floor tiling. A mistake in these areas can cause leaks that are difficult to repair later.