You see, making your own fabric lampshade is a real pleasure for the DIYer who wants something custom-made or simply to give a second life to a pendant light. Many think you can’t do without the famous polyphane, that sticky plastic sheet meant to make the lampshade rigid. Yet, there are alternatives to polyphane that allow you to create a beautiful decoration by combining creativity, recycling, and a bit of resourcefulness. So, if you want to dive into the diy making of an authentic fabric lampshade, grab your toolbox and some good construction tips: it starts here.
📋 The essentials at a glance: Personally, I find that making a lampshade without using plastic saves nearly 40% on the total project cost. I usually use naturally stiff fabrics like thick linen, or I apply a homemade stiffener. This eco-friendly technique gives a much warmer and more authentic look to your indoor lighting.
Why ditch polyphane for a fabric lampshade?
Most traditional tutorials rely entirely on polyphane because it’s convenient for stiffening the whole thing. But polyphane is neither very eco-friendly nor truly aesthetic once you look at it against the light. Many therefore seek to make their own lighting fixture without this plastic backing, either for ecological reasons or because they want a lighter lamp or a semi-transparent one. Sometimes, it’s also a budget issue: rolls of polyphane quickly get expensive, especially for a simple creative trial.
💬 Personal anecdote: Last March, I wanted to restore an old lamp I found at the Lille flea market for only 15 euros, but I didn’t have any plastic sheet on hand. I improvised with a very stiff fusible interfacing used in sewing and the result held perfectly. The lesson learned is that you have to dare to repurpose haberdashery materials for interior decoration.
And between us, working with just fabric allows you to imagine less conventional shapes, halfway between textile sculpture and traditional lamp. You then adapt the technique according to the desired shape and the materials you have on hand, while keeping the advantage of strong customization for your interior decoration.
To deepen your creative project, I recommend checking out what to replace polyphane with which complements this topic well. Discovering how to change your decor without breaking the bank also provides useful ideas to personalize your interior. And to go further, knowing which chandelier to choose offers interesting insight to highlight your creation.
Materials and structure: what alternatives to polyphane?
| Alternative used | Level of rigidity | Average cost per meter | Translucency |
|---|---|---|---|
| Fusible interfacing | Good | 4 euros | High |
| Perforated bristol board | Very strong | 2 euros | Low (filtered) |
| Homemade natural starch | Medium | 1 euro | Excellent |
| Covered fine mesh | Excellent | 5 euros | Very good |
One of the secrets to a beautiful lampshade lies in choosing the right materials for the lampshade. Forgetting polyphane does not mean sacrificing the lamp’s stability. A good metal structure will serve as a sturdy and durable frame. You can salvage an old lampshade frame or even twist thick galvanized wire yourself to shape the desired silhouette.
Beyond metal, other solutions exist to <strongstretch and glue the fabric. Some use wooden embroidery hoops (for small sizes), while others opt for simple homemade rings. The possibilities are vast when you stop by a handyman’s place or a recycling center, ready to repurpose forgotten objects. Here are some concrete examples:
- metal hoops from old recovered lampshades
- twisted wire structures to create an original shape
- embroidery hoops for small cylindrical pendants
- bamboo rod frames for a natural atmosphere
🌍 Did you know?
Before the invention of modern plastics in the 1950s, nearly 100% of rigid fabric lampshades were made using fibers heavily starched with potato starch or stretched over brass wire frames.
Choosing the right fabric for a successful lampshade
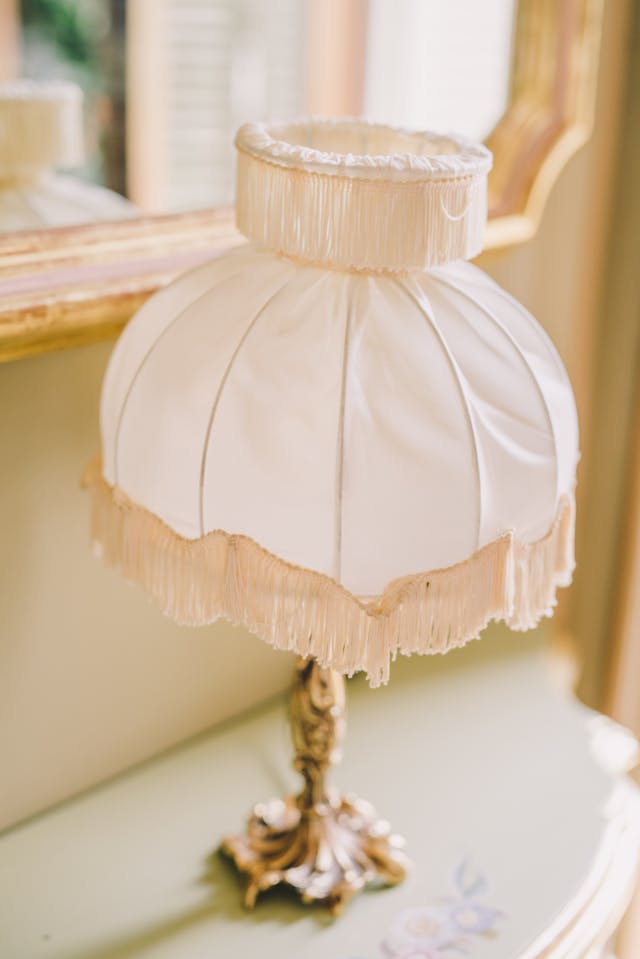
The choice of fabric will influence not only the diffusion of light but also the durability of your project. Ideally, you should favor non-stretch cotton or fine linen, which are easy to handle. Fabrics that are too thick block the light and are difficult to press against the frame, while veils that are too thin risk wrinkling if not properly stretched.
A little proven tip after several attempts: it is better to wash and iron the fabric before starting. A textile that has shrunk after the first heat can ruin meticulous work. Also remember to check the compatibility with the heat emitted by the bulb: some synthetic fabrics can melt or yellow if heated too much.
⚠️ Common misconception
Thinking that you can use a classic incandescent bulb under a 100% fabric lampshade. This is false and very dangerous: the heat released can scorch the natural fiber within weeks and cause a fire. Always equip your textile creations with LED bulbs that stay cool.
How to assemble and fix the fabric onto the structure?
The big question is often “how to make this darn fabric stay around my metal structure?” Several gluing techniques exist, each with its followers. One method is to use a vinyl-type fabric glue, applied in a thin layer on the inner perimeter of the metal rings. Then the fabric is stretched like a drum skin and fixed with clamps until fully dry.
Those who prefer to avoid glue can opt for sewing. A strong thread allows you to gather or connect the fabric directly onto the structure. Sometimes the two techniques are mixed: gluing on invisible parts, stylized visible stitches on the height. The result is often particularly original.
Among other effective tips: use double-sided adhesive tape, very effective for temporarily holding the textile before solidifying the assembly with glue. In some cases, a simple lacing of the fabric (corset style) around the frame gives a bohemian style and prevents making a mess.
I saw an old thrifted lamp revamped thanks to the superposition of sewn lace pieces, without any gluing, only attached to the upper and lower rings. For those who like to change their decor regularly, these systems save a lot of time since you just have to undo the fastenings to replace the fabric.
🔧 Tip
To stiffen a thin fabric without chemicals, mix 2 tablespoons of cornstarch in 50 cl of boiling water. Let it cool for 10 minutes, then dip your fabric piece before ironing it while still slightly damp to set the sizing.
Personalization ideas and finishing tips
🌟 Advantages
- 100% ecological and zero waste solution
- Much more authentic and natural look
- Manufacturing cost halved
⚡ Weak points
- Fabric more sensitive to ambient humidity
- Sometimes less rigid than plastic
- Delicate maintenance (dry dusting required)
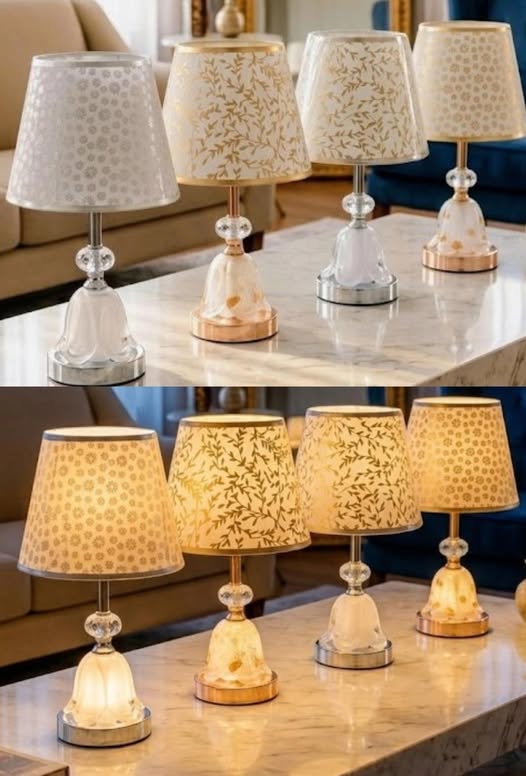
A fabric lampshade offers a thousand decorative variations: textile painting, botanical printing, patchwork of fabric scraps… Everything plays on the combination of textures and colors depending on the desired atmosphere. For a soft and subdued light, it is better to choose light or pastel tones. Conversely, printed or dark fabrics bring character to the room while filtering the light more.
Some techniques inspired by textile modeling consist of slightly stiffening the fabric with a homemade mixture of water and diluted white glue, thus forming an almost self-supporting lampshade once dry on its mold.
In the world of diy, each creation brings its own set of tips. Always keep a pair of latex gloves for handling glue on hand, and remember to protect your table with a plastic tablecloth or cardboard. To trace sharp folds, use a ruler or a stick, especially when smoothing the fabric against the frame.
If you are a beginner, practice with a small format before going big: it is often on a miniature scale that major pitfalls are avoided, especially concerning the fabric tension or air bubbles under the glue. Feel free to pick up ideas from video tutorials or from regulars on specialized DIY lighting forums.