When renovating or looking to install an electric radiator in a room that only has a standard outlet, the question often arises: how to convert your electrical outlet into a proper radiator outlet? The operation seems simple, but between regulations, electrical safety, and equipment choices, it’s easy to get lost. That’s why I’m sharing my field experience today to guide you step by step through this common project, which requires method and caution.
Clarification: Converting a standard electrical outlet into a radiator outlet is not a trivial operation. An electric radiator must be connected to a dedicated circuit capable of supporting a high continuous power load. Before any modification, it is essential to verify the installation’s compliance, cable gauge, and associated circuit breaker to avoid any risk of overheating or non-compliance.
Differences between a standard electrical outlet and a radiator outlet
At first glance, a standard electrical outlet and a radiator outlet look like two peas in a pod. However, the difference is significant in terms of safety and standards compliance. A radiator outlet must be connected to a dedicated circuit, protected by an appropriate circuit breaker, whereas a simple 2-pole + earth outlet serves various devices on a shared circuit.
A common mistake is to think that simply plugging your radiator into an existing outlet is enough. In case of overload, the entire circuit is sure to trip, not to mention that insurance might refuse to compensate in case of damage linked to a non-compliant installation. Several projects have taught me that neglecting these distinctions often means paying twice for later interventions!
- General electrical outlet: shared with other devices.
- Radiator outlet: connected to a specific circuit, sized according to the radiator’s power.
- Required protection: dedicated circuit breaker in the electrical panel.
🗣️ My experience: In December 2024, during the renovation of my office in Lyon, I wanted to connect a 2,500-watt radiator to the old power outlet in the room without checking the panel. The cable overheated in less than 30 minutes because the line also powered three other electrical outlets. The lesson I learned from this mistake is that you must always electrically isolate and test the load of a circuit before connecting a heating appliance to it.
How to check feasibility before modification?
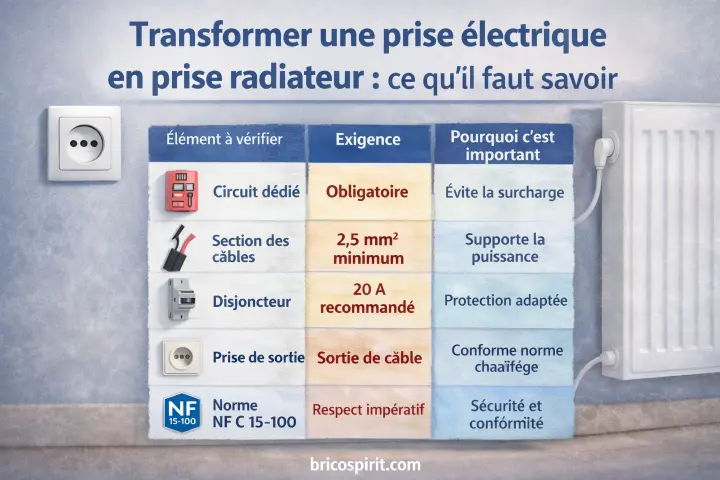
| Element to check | Requirement | Why it’s important |
|---|---|---|
| Dedicated circuit | Mandatory | Prevents overload |
| Cable gauge | Minimum 2.5 mm² | Supports the power |
| Circuit breaker | 20 A recommended | Proper protection |
| Outlet type | Cable outlet | Heating standard compliant |
| NF C 15-100 standard | Strict compliance | Safety and conformity |
Before pulling out screwdrivers and wire cutters, you need to check if the desired modification is technically feasible. Several points must be checked from the start to ensure impeccable electrical safety and comply with standards conformity.
A quick glance at the electrical panel will reveal if a dedicated circuit already exists for the heating or if one needs to be created. Then, you will need to determine the type of electrical cables powering the outlet in question — a wire that is too thin requires rewiring, which seriously complicates the task. It’s better to anticipate these issues rather than having to break everything afterward!
- Locate the heating-specific circuits on the electrical panel.
- Check the gauge of the electrical cables: for a 2000 W radiator, 1.5 mm² (16 A circuit breaker) or 2.5 mm² (20 A circuit breaker) is generally required.
- Verify the presence or plan the installation of a suitable circuit breaker exclusively for the radiator.
🌍 Did you know? According to home safety data, nearly 25% of house fires are caused by electrical circuit overloads. The absence of a dedicated line for high-power devices such as radiators remains one of the most frequently noted anomalies during property inspections.
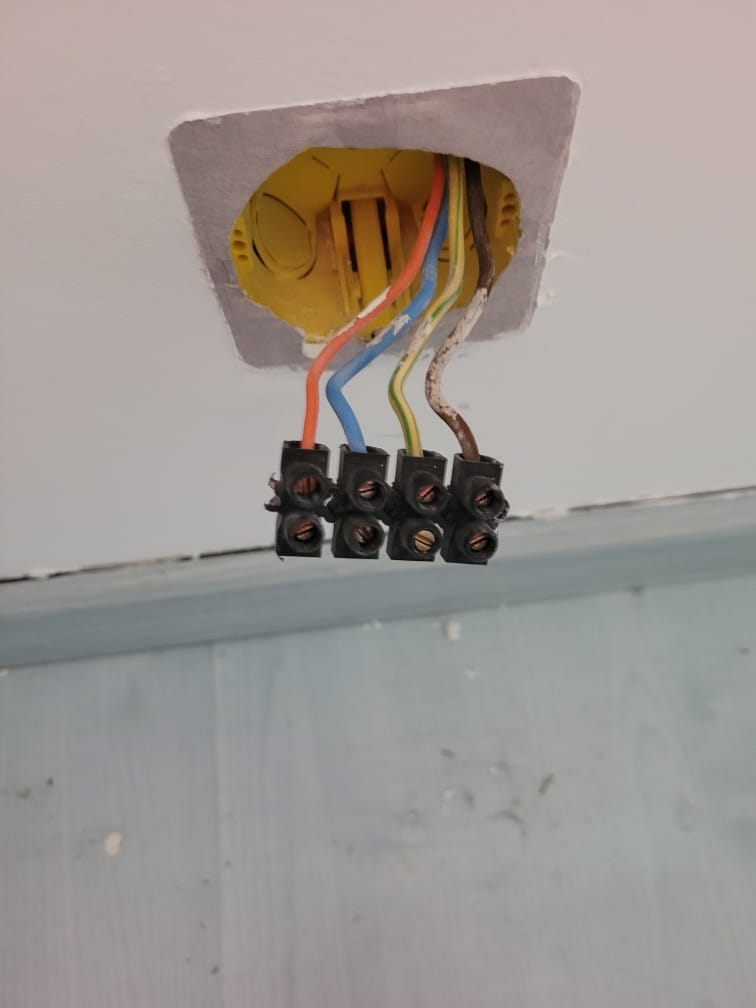
Often, the sheath feeding your outlet is accessible behind the flush-mounted box or at the back of the electrical panel. If it bears a colored label or the mention “heating,” you already have a lead. When nothing is clear, a voltage tester and a sheet to note your readings become your best allies. I insist: take the time to trace all the wires upstream, it avoids unpleasant surprises during connections.
When doubt persists, consulting the original diagram of your installation or asking advice from someone trustworthy remains the ideal solution. Nothing beats an experienced eye to validate a sometimes complex configuration!
Directly plugging a powerful radiator into a non-dedicated outlet exposes you to abnormal heating, or even the start of a fire in the worst cases. Once, at a colleague’s place, I found a blackened outlet behind a piece of furniture: the cable had melted from being pulled more than expected! That’s when I really understood the importance of a suitable circuit breaker and a circuit reserved for each radiator outlet.
Respecting electrical safety is therefore not a mere formality: it is the first step to sleeping peacefully after plugging in an energy-consuming device like a radiator. By the way, take the time to consult this analysis to weigh the pros and cons of this modification compared to creating a new line:
🌟 The Advantages
• Quick work without chasing in the partitions.
• Immediate reuse of existing conduits.
• Very economical cost of the installation.
🔍 Reservations
• Obligation to disable the other sockets on the circuit.
• Total power limited by the original section.
• Frequent absence of pilot wire in old conduits.
Prepare the essential tools and materials for the transformation
Preparation is half the work – a handyman’s word! Even before starting, gather everything you will need to adapt your electrical outlet into a radiator socket. This will avoid trips back and forth to the hardware store, with the screwdriver stuck between your teeth. For this kind of intervention, some materials are essential.
I recommend favoring certified equipment suited to the actual power of the radiator to be installed. A poor flush-mount box or a salvaged terminal block is asking for trouble, not to mention the standards to be respected.
- A quality 2p+t socket or radiator-specific socket (depending on installation).
- An flush-mount box adapted to the chosen location.
- Good gauge electrical cables.
- A new circuit breaker associated with the dedicated circuit, to be installed in the electrical panel if necessary.
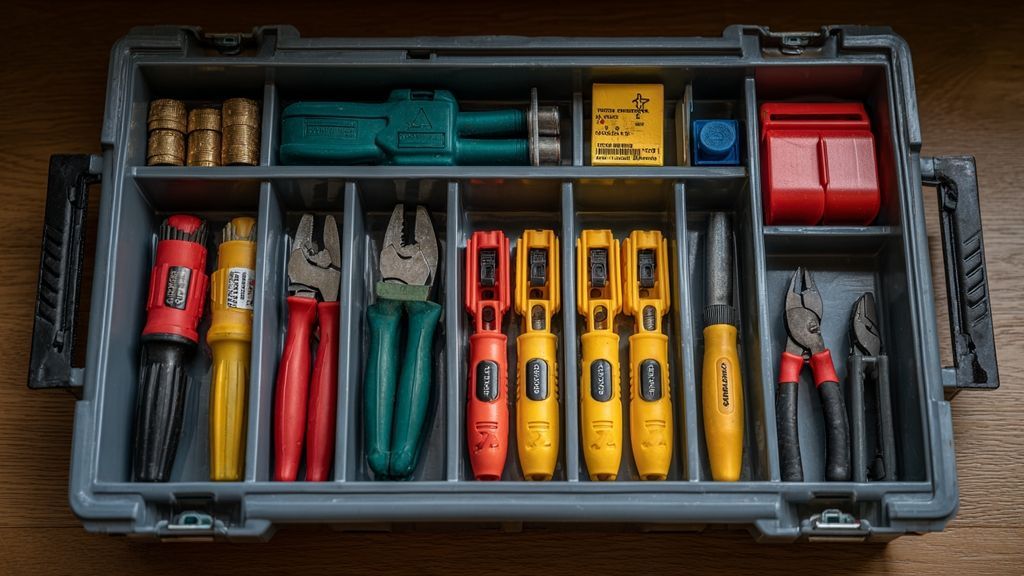
- Basic electrician’s tools: screwdriver, wire stripper, current tester.
- Insulating tape, cable ties, and possibly wall plugs suitable for the wall support.
⚠️ Classic trap: The common mistake is to connect the radiator’s earth terminal to the circuit when the device is class II. Class II radiators have double insulation and must never be connected to earth. Connecting this green and yellow wire out of habit can cause malfunctions in your network.
What are the steps to safely transform the socket?
To confidently start this transformation – because yes, it is one –, it all begins with cutting off the power sharply at the electrical panel. Take your time to mark each step, because electrical safety comes before speed. I like to make a checklist on the wall or work surface to visualize what I have done and what remains to be finished.
Be careful never to work live, even if you cautiously only touch the cover of the old socket! I always leave a little note here, especially to prevent someone from turning the power back on while you’re working.
- Power cut via the electrical panel, verified with a tester.
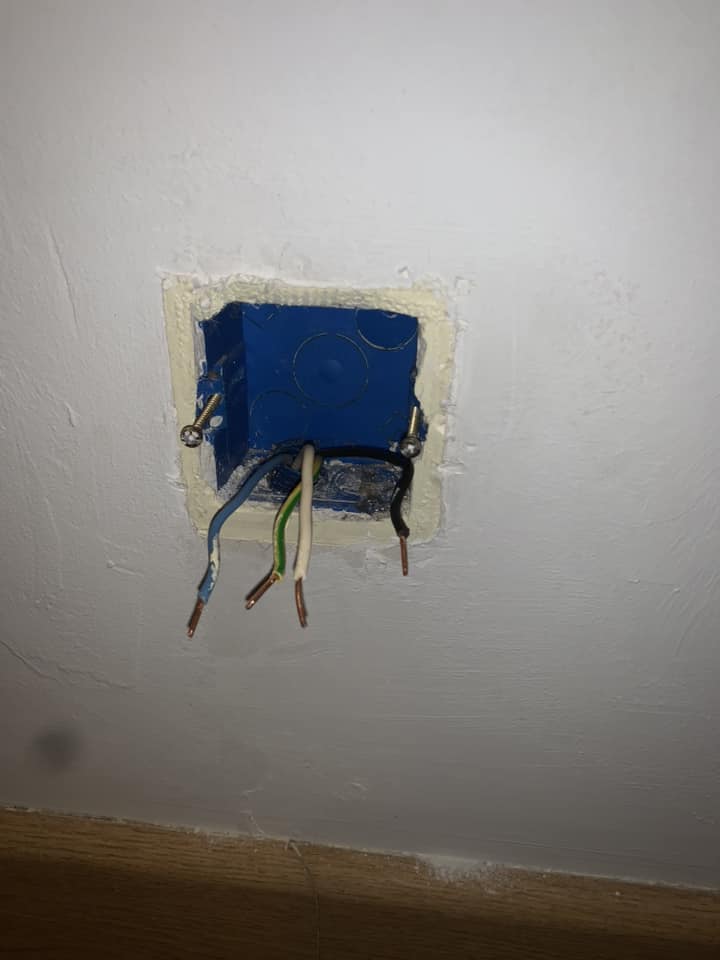
- Opening the existing electrical outlet: identifying the wires and their current connection.
- Replacement or adaptation of the flush-mounted/connection box, if necessary.
- Connecting the electrical cables to the new 2-pole+earth outlet or radiator terminal, with careful tightening.
- Installation of a suitable circuit breaker, assigned to the new dedicated circuit if it did not already exist.
- Power restoration and testing: visual inspection, testing the radiator, checking for absence of overheating.
I encourage you to document what you do and to create a file with diagrams, photos, and equipment references. It helps a lot to keep track or when passing a standards compliance certificate.
And if you get stuck at a step, it’s better to pause than to force fate – nothing beats a phone call to an electrician friend or a visit to a DIY enthusiasts’ forum to clear up any doubts.
💡 Practical tip: For optimal and secure tightening in the flush-mounted box, use exclusively automatic connection terminals of the Wago type rather than screw terminal blocks. Allow about 8 cm of free wire length in the box to handle connections without excessively bending the copper.
Some additional tips for a durable radiator outlet?
There is always one detail forgotten in the middle of a project. So, here are my little reminders to guarantee the robustness of your installation. Always remember to thoroughly dust the bottom of the flush-mounted box, to avoid false grounds. Also allow some margin in the length of the electrical cables, so you can handle or rework without tearing everything out again.
At the slightest sign of heating, looseness in the radiator outlet, or suspicious smell, cut everything off and retighten, clean, or even replace the component without delay. These details make all the difference over time and prevent many electrical headaches.
<div x-data="{ puissance: 1500, section: '1.5', get conformite() { if (this.puissance <= 3500 && this.section === '1.5') return 'Conforme (Disjoncteur 16A max)'; if (this.puissanceCalculateur de conformité de ligne
Vérifiez si votre câble actuel peut supporter votre nouveau radiateur.