How to Choose the Right Anchors to Fix Furniture on a Hollow Wall
Choosing a hollow wall furniture anchor requires first identifying the wall, then estimating the actual weight of the furniture and its contents. A plasterboard, a hollow brick, or a honeycomb panel do not react the same way to drilling and pulling forces.
This guide explains how to diagnose the support, compare fasteners, install anchors step by step, and secure a suspended or tall piece of furniture. The goal is concrete: to achieve a stable fixing without enlarging the hole, weakening the partition, or neglecting the risk of tipping over.
In Brief
- 🧱 Identify the support: plasterboard, hollow brick, honeycomb panel, or stud.
- ⚖️ Calculate the total load including the furniture, its contents, and the forces related to opening doors or drawers.
- 🔩 Favor expansion or toggle anchors for hollow walls when the stud is not accessible.
- 🛡️ Add an anti-tip device for any tall, suspended, or heavily loaded furniture.
How to Identify the Type of Hollow Wall Before Drilling?
A hollow wall has a relatively thin skin or panel in front of a cavity, a honeycomb structure, or a second panel. The choice of anchor depends on this composition: a fastener designed for plasterboard does not necessarily behave the same way in a hollow brick.
Recognizing Plasterboard
Plasterboard generally produces a hollow sound when tapped between two studs. Drilling is easy and produces fine dust. Its thickness should be checked, as some anchors are designed for a specific range; the TA anchor from Toggler, for example, is rated for boards from 3 to 6 mm and requires free space behind the board.
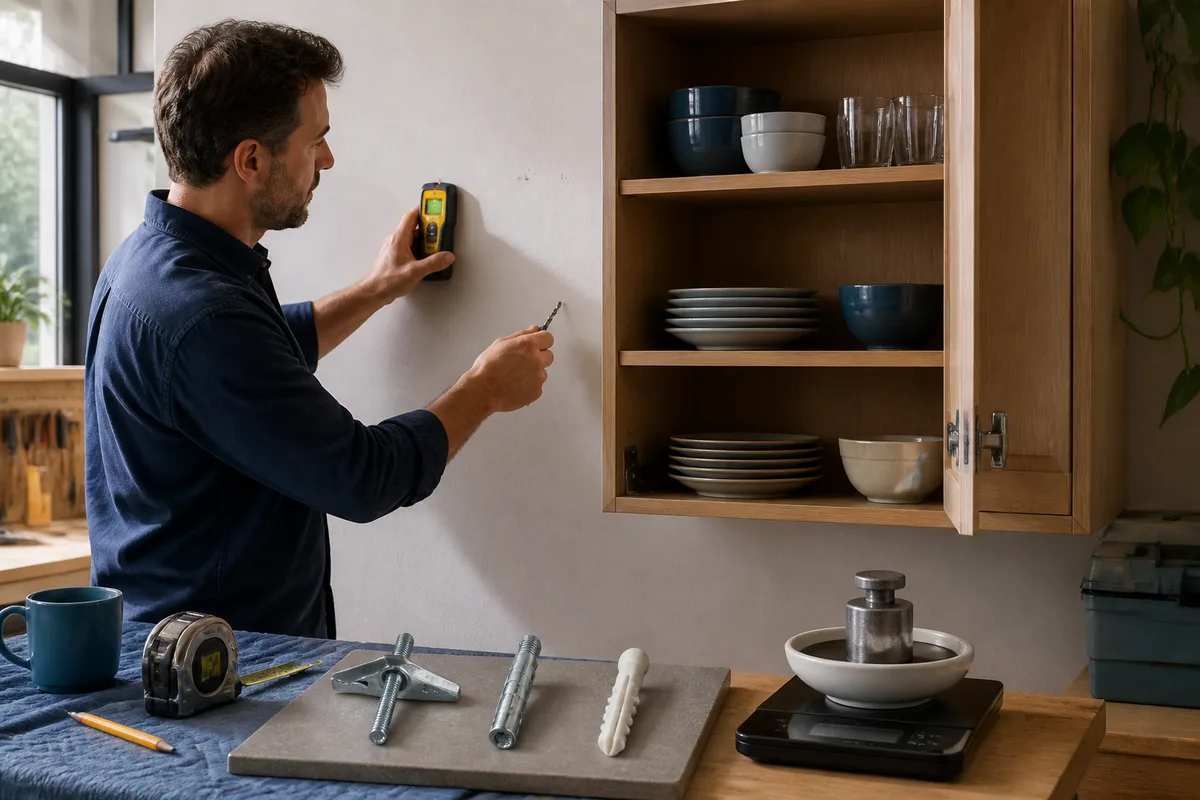
A stud or material detector can help locate the metal or wood structure behind the board. Also check for electrical conduits and pipes before drilling, especially near outlets, switches, water inlets, and radiators.
Distinguishing Hollow Brick and Other Panels
A hollow brick offers a succession of internal partitions. The drill bit sometimes encounters irregular resistances and the hole does not immediately open into a clear cavity. A honeycomb partition may, on the contrary, have a thin panel and a larger space behind.
The diagnosis is made by combining sound, drilling depth, dust produced, and available housing plans. When in doubt, drill a less visible spot carefully rather than starting directly in the area intended to hold the furniture.
An anchor does not compensate for a poorly identified support: the material behind the surface matters as much as the fastener itself.
What Weight Should the Fastening Actually Support?
To choose an anchor, add the empty weight of the furniture, that of the stored objects, and the repeated forces caused by doors, drawers, or a load placed on the edge. The capacity announced by a manufacturer concerns a specific configuration and does not constitute a universal load valid for all partitions.
Adding the Furniture and Its Contents
Start by consulting the furniture manual or weighing its main components if the weight is unknown. Then add the maximum expected contents. A light storage unit can become significantly more demanding once filled with books, dishes, or tools.
Distribute the load over several points, but do not automatically divide the total weight by the number of anchors. The forces are not always evenly distributed, especially if the wall is irregular or if the holes are not perfectly aligned.
Taking into Account Pull-Out and Tipping
A cabinet fixed at the top exerts a pull-out force on the anchors when its bottom part moves away from the wall. Opening a door or pulling out a drawer also increases the load. Therefore, a tall cabinet must be stabilized against tipping, even if its weight seems moderate.
As an indicative example, the technical datasheet for the Toggler TA anchor mentions an average pull-out value of 53 kg with a 6 mm screw, under the specified test conditions. The same documentation recommends a load corresponding to about a quarter of this value, approximately 13 kg per anchor. These figures cannot be directly applied to another anchor, another panel, or a cabinet subjected to different forces.
Which Anchor to Choose for a Cabinet on a Hollow Wall?
For fixing a cabinet on drywall or a hollow wall, choose the anchor according to the support and the load. A self-drilling anchor is more suitable for a light fixture in a compatible panel; a metal expansion anchor or a toggle anchor provides a different type of anchoring. For a heavy cabinet, first look for a stud or reinforcement.
Metal Expansion Anchor
The metal expansion anchor, often called a Molly anchor, expands behind the panel when the screw is tightened. It requires a pre-drilled hole and must be installed using the drill bit diameter and tool recommended by its manufacturer.
It can be suitable for wall fixing of light to medium weight in a plasterboard panel, provided the allowable thickness, screw diameter, and indicated load are respected. To choose the model and size, also consult our guide on the size of a Molly anchor.
Self-Drilling Anchor
The self-drilling anchor screws directly into the plasterboard without prior drilling. This quick installation is intended for light elements when the model’s documentation permits it. It is not an automatic solution for a loaded cabinet, subjected to repeated pulls, or presenting a risk of tipping.
The threading must penetrate properly into the panel without tearing it. If the anchor spins before gripping, stop the installation: enlarging the hole or tightening more will not restore the support’s resistance.
Toggle or Spring Anchor
The toggle anchor has a movable head or wings that deploy behind the wall. It is used in hollow walls and some hollow ceilings after pre-drilling. Its advantage is to create an internal stop wider than a simple screw fixing in the panel.
However, it requires sufficient free space behind the wall and a hole large enough to allow the folded mechanism to pass through. Check that the screw length corresponds to the thickness of the cabinet, the panel, and the anchor.
Fixing into a Stud or Reinforcement
When the fixing point can be placed in a metal stud, a wooden stud, or a wall reinforcement, this solution is often preferable to a fixing supported only by the panel. The type of screw then depends on the encountered structure and the cabinet manufacturer.
A reinforcement planned behind the panel is the best preparation for a suspended cabinet or a heavy element. If the partition is already closed, do not cut the wall without checking the networks and the feasibility of the repair.
| Situation | Fixing to Consider | Limit to Check |
|---|---|---|
| Light object on plasterboard | Self-drilling or suitable expansion anchor | Indicated load and panel condition |
| Medium weight cabinet on panel | Metal expansion anchor | Thickness, spacing, and distribution of points |
| Hollow wall with large rear space | Toggle or spring anchor | Passage of wings and screw length |
| Heavy or tall cabinet | Stud, reinforcement, or system validated by the manufacturer | Pull-out, anti-tipping, and structure |
How to install a hollow wall anchor: the steps?
Successful installation relies on a clean hole, an appropriate diameter, and controlled tightening. For a hollow wall furniture anchor, never replace the recommended drill bit with a randomly chosen diameter. An opening that is too wide prevents the wings or expansion area from properly gripping.
Step 1: prepare the equipment and mark the points
Gather a tape measure, a level, a pencil, a drill, the appropriate drill bit, anchors, screws, and, if necessary, an installation plier. Add a stud or network detector when the wall configuration justifies it.
Transfer the holes based on the actual dimensions of the furniture, then check the horizontality. Verify that the points are neither too close to an edge of the panel nor grouped in an already damaged area. The expected result is a precise marking, compatible with the furniture holes and any studs.
Step 2: drill without enlarging the hole
Drill at a moderate speed, without percussion in a plasterboard panel. Keep the drill perpendicular to the wall and remove the bit without levering. For a TA anchor, the manufacturer’s documentation indicates an 8 mm drill bit; this value concerns this model and should not be generalized.
Remove the dust without scraping the edges of the hole. If you encounter a stud or unexpected resistance, stop to identify what you have hit instead of forcing.
Step 3: insert, deploy, and tighten the anchor
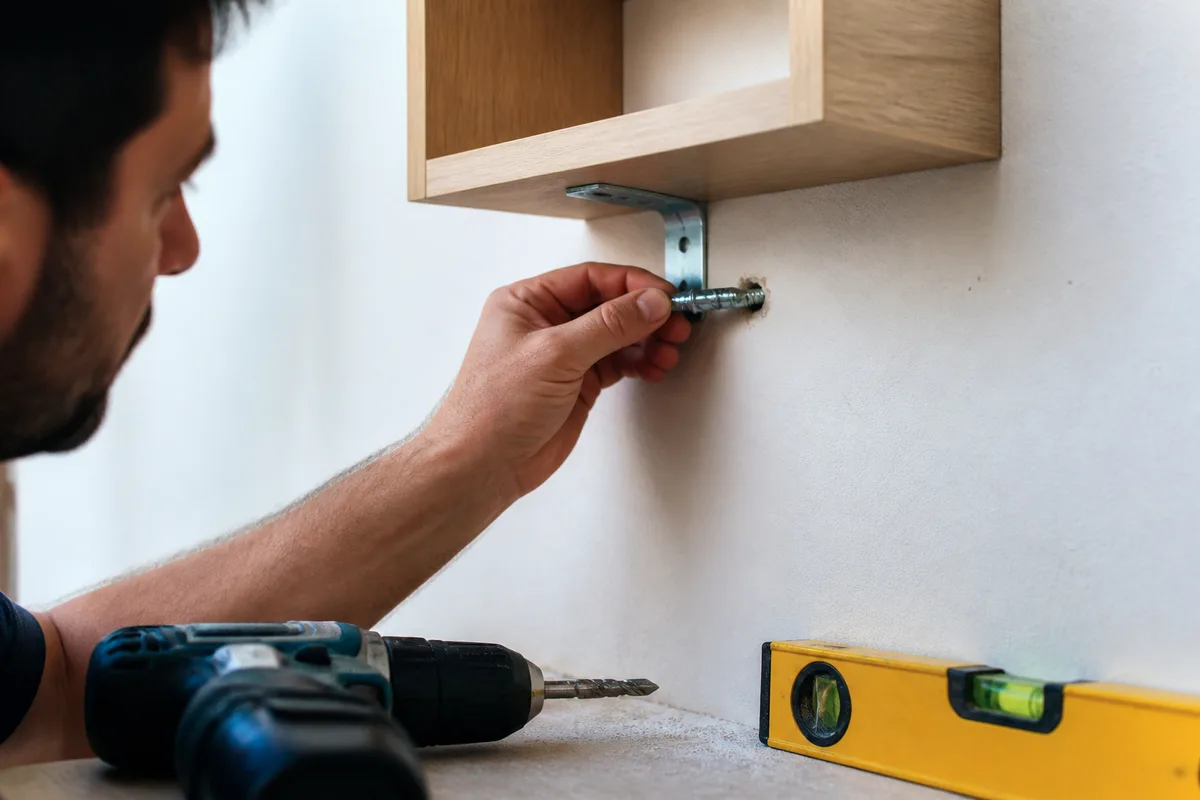
Insert the anchor up to its collar or to the position specified in its instructions. For a metal model, use the installation plier if recommended; for a toggle anchor, properly fold the wings before insertion.
Then tighten the screw gradually. The fixing should lock without excessively crushing the panel. If the anchor turns, springs out, or does not deploy, disassemble it and look for the cause rather than increasing the tightening torque.
Step 4: attach the furniture and check its stability
Position the furniture, engage all screws by hand, and check the level one last time before the final tightening. Tighten by alternating points to avoid pulling the furniture crooked.
After fixing, apply a light and gradual pull on the upper part, then check that no play appears. For a tall piece of furniture, install the anti-tilt device provided by the instructions or a solution compatible with the support.
The final tightening must lock the piece, not crush the plasterboard around the anchor.
What common mistakes to avoid with hollow wall fixing?
Fixing failures often come from a poor diagnosis or too quick installation. An anchor suitable for a support can become inappropriate if the wall is crumbly, if the panel is too thin, or if the furniture exerts significant forces.
- Using a universal anchor without identifying the support: it may suit some solid or hollow materials, but its hold depends on the wall geometry and the load.
- Relying on the empty weight of the furniture: the contents and forces exerted on doors or drawers must be considered.
- Placing all points in a weakened area: an old hole, an edge of the panel, or a crack reduces anchoring quality.
- Tightening strongly to compensate for a bad anchor: this practice can crush the panel and enlarge the drilling.
- Neglecting tilting: a tall or suspended piece of furniture must be secured by an appropriate device, even if the screws seem locked.
Drive-in anchors, universal anchors, and plastic expansion anchors can be useful for light elements, but they should not be chosen by default for loaded furniture. The furniture instructions and the fixing technical sheet remain the references to check.
What to do if the anchor turns or tears out?
An anchor that turns usually indicates that its wings have not deployed, the hole is too large, or the board no longer has enough material around the anchor. Remove the screw without forcing, inspect the hole, and look for another fixing point if the area is damaged.
Diagnosing the cause
Examine the edges of the hole, the condition of the board, and the length of the screw. Also check that the screw is not too short to reach the active part of the anchor, or too long to hinder its function.
Repairing a light fixing
For a light object, fill the damaged hole with a product compatible with the board, let it dry, then create a new fixing point at a sufficient distance. A repair fixing is only acceptable if the load remains low and the surrounding support is sound.
Reinforcing a heavy fixing
For a heavy piece of furniture, a tall cabinet, or a fixing that has already torn out, do not simply replace the anchor with a larger diameter model. Move the points to a stud, add an accessible reinforcement, or have the partition checked by a qualified professional.
Chemical anchoring can be used in certain hollow material configurations, but its implementation depends on the system, the mesh, the resin, the depth, and the manufacturer’s specifications. Therefore, it is not an automatic solution for a fragile plasterboard.
What good practices improve safety?
The stability of a piece of furniture also depends on its design and use. A suspended cabinet must be installed with an even distribution of anchors, while a tall cabinet placed on the floor must be secured to prevent it from tipping forward.
- Respect the indicated diameter and drilling depth for the fixing.
- Use screws compatible with the specified diameter and length.
- Avoid concentrated loads on a single shelf or point.
- Check the fixings after initial use and after moving the furniture.
- Call a professional for heavy loads, damaged partitions, ceiling fixings, or doubts about networks.
A metal expansion anchor is not interchangeable with a toggle anchor, and a plasterboard anchor is not automatically suitable for hollow brick. For additional work, also use appropriate tools: the choice of equipment influences the precision of the hole and the quality of the installation.
Useful sources to consult
The manufacturer’s technical sheet must be consulted to know the support thickness, drilling diameter, compatible screw, and allowable load. The technical documentation of the Toggler TA anchor details notably the test conditions, the 8 mm drill bit, and compatible dimensions.
To compare metal, toggle, or multi-material systems, consult the technical sheets of manufacturers such as Würth or qualification documents when available. The displayed values always concern a specific support and configuration; they do not replace verification of the actual wall.
Key takeaways
- 🧱 Identify the board, hollow brick, honeycomb panel, or stud before choosing.
- ⚖️ Add up the weight of the furniture, its contents, and the stresses related to its use.
- 🔩 Adapt the type of fixing: expansion, self-drilling, toggle, or anchoring in a stud.
- 🛡️ Secure any tall furniture with an appropriate anti-tip device.
- 🧰 If the hole turns, enlarges, or tears out, reinforce the structure instead of tightening more.
The right choice is not the anchor showing the highest load on its packaging, but the one whose usage conditions truly match the support, load, and stresses of the furniture.
Frequently asked questions
Which anchor to choose to fix furniture on plasterboard?
For light to medium furniture, a metal expansion anchor may be suitable if the board thickness and load correspond to the manufacturer’s indications. For heavy or tall furniture, rather look for a stud, reinforcement, or a validated anti-tip solution.
Can a heavy piece of furniture be fixed to a hollow partition wall?
It is possible in certain configurations, but the fixing should not rely solely on a general estimate. You need to know the composition and thickness of the partition, distribute the points, and check for pull-out; a professional inspection is preferable in case of a heavy load.
Is a self-drilling plug suitable for fixing furniture to plasterboard?
It may be suitable for a light element on a compatible board. For a loaded piece of furniture, subject to repeated pulls or at risk of tipping over, choose a more appropriate fixing or anchor into a stud.
How many plugs should be used for a piece of furniture?
The number depends on the furniture, its fixing points, the load, and the support. Several plugs improve distribution, but they alone do not guarantee holding if the board is fragile or if the anchors are poorly positioned.
How to prevent a tall piece of furniture from tipping over?
Fix its upper part to the wall with the anti-tip device provided by the manufacturer or a solution compatible with the partition. Avoid relying solely on the feet or the weight of the furniture, especially if doors and drawers are accessible to children.