A failed wall is visible for years. Touch-up marks, drips, a messy corner: paint forgives little, and the culprit is almost never the can. In the vast majority of private projects, everything hinges on two points: surface preparation and tool choice. Here’s how to stack the odds in your favor, step by step.
Preparation: the result is decided before the first roller stroke
Start by washing the wall, then fill holes and cracks with a putty knife, applying two thin coats rather than one thick one. Once the filler is dry, sand with a hand sanding block for a single room, or a giraffe sander if you’re tackling walls and ceilings. The pro tip that costs nothing: illuminate the wall with grazing light, a lamp placed against the surface reveals dips and bumps invisible from the front. Dust off, and only then, talk paint.
Before starting, also take inventory of your tools: investing in quality painting equipment from a building tool specialist like Krenobat always costs less than fixing a failed wall. The shop has been equipping professionals and individuals since 2010, from rollers to giraffe sanders, with a good portion of brushes and paintbrushes made in France.
Protect: ten minutes of masking saves hours of cleaning
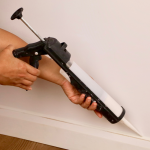
Masking tape is applied on clean, dry baseboards, pressing the edge firmly on the paint side. Cover the floor with a drop cloth, slightly overlapping the baseboards, and cover remaining furniture with plastic film. One detail many overlook: remove the tape while the paint is still slightly wet, pulling at a 45-degree angle. Waiting for full drying risks peeling off the paint film with the tape.
Roller, brush: the right tool for the right surface
Not all rollers are equal, and fiber length is not a marketing detail. Short fibers for smooth surfaces and lacquers, medium fibers for standard interior walls, long fibers for irregular surfaces or textured plaster. A rigid frame and a lint-free sleeve make a difference from the first coat. Add a cut-in brush, a round, angled brush designed to create sharp lines along ceilings and frames, and a telescopic pole that will save you from using a stepladder on half the job.
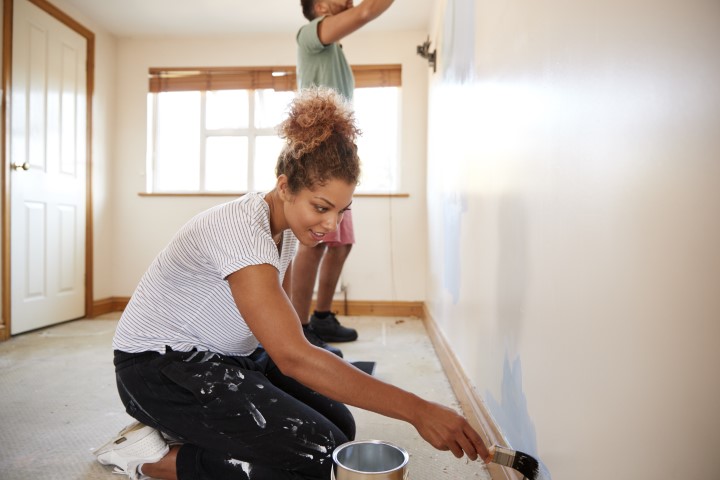
💡 Tip: before first use, rinse the new sleeve under water and wring it out, or roll it on adhesive tape. This removes loose fibers that would otherwise stick in your paint.
Movements that avoid touch-up marks
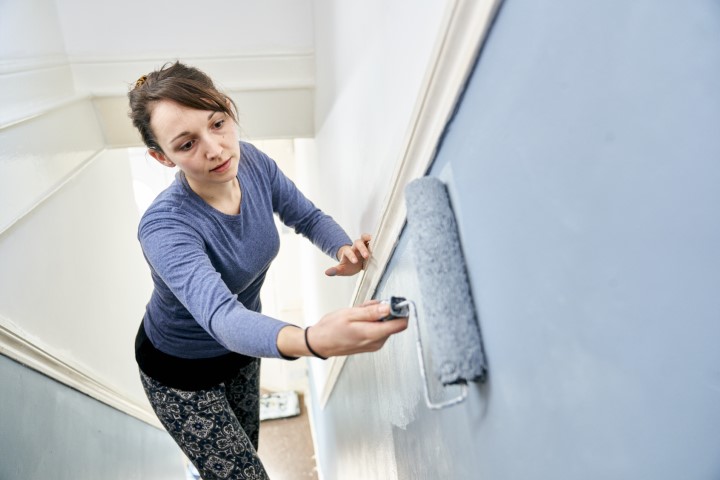
Work in areas of about one square meter. Load the roller without saturating it, apply in vertical strokes, cross horizontally to spread, then smooth vertically without reloading. Golden rule: always work wet-on-wet. An area that has started drying cannot be retouched; it must be covered with the next coat. And precisely, prefer two thin coats to one thick coat, respecting the drying time indicated on the can: drips and uneven gloss almost always come from a coat that’s too heavy.
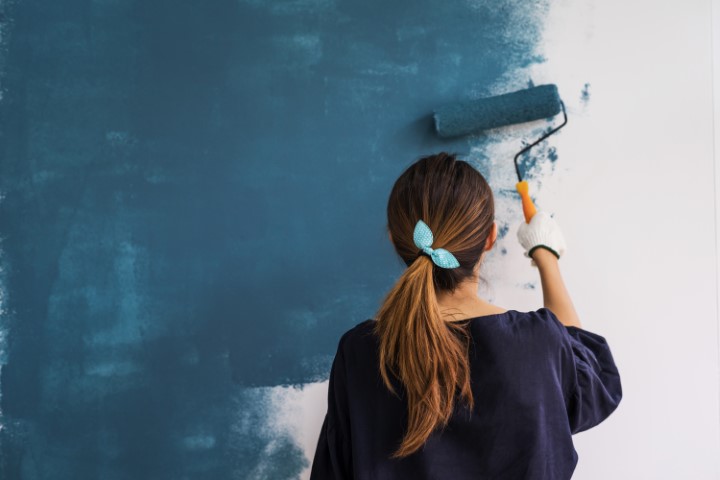
Angles and edges are painted first, using an edging brush, then the roller comes to overlap this still fresh strip. It is this wet-on-wet join that makes the junction invisible.
A well-painted wall shows no brushstrokes. That is the whole challenge, and all the pleasure.
FAQ: Proper Equipment for Painting
Quel rouleau choisir pour peindre un mur intérieur ?
Un rouleau à fibres moyennes couvre la plupart des murs intérieurs avec une peinture mate ou satinée. Réservez les fibres courtes aux supports très lisses et aux laques, et les fibres longues aux surfaces irrégulières comme les crépis. La qualité du manchon compte autant que la fibre : un manchon qui peluche laisse des fibres dans la peinture.
Faut-il vraiment poncer avant de peindre ?
Oui dans la plupart des cas : le ponçage égrène l’ancienne peinture, lisse les rebouchages et donne l’accroche nécessaire à la nouvelle couche. Contrôlez le résultat en lumière rasante, qui révèle les défauts invisibles de face, puis dépoussiérez soigneusement avant d’appliquer.
Comment éviter les traces de reprise au rouleau ?
Travaillez par zones d’un mètre carré, croisez les passes puis lissez verticalement, et reprenez toujours dans la peinture encore fraîche. Appliquez deux couches fines plutôt qu’une épaisse, en respectant le temps de séchage entre les deux. Une zone qui a commencé à sécher ne se retouche jamais, elle se recouvre.
Quand retirer le ruban de masquage ?
Quand la dernière couche est encore légèrement fraîche, en tirant doucement à 45 degrés. Si vous attendez le séchage complet, le film de peinture risque de se déchirer le long du ruban et d’emporter le bord net que vous cherchiez justement à obtenir.