How long should you let a silicone sealant dry before using the bathroom?
The drying time of a bathroom silicone sealant depends on the product, the thickness of the bead, and the ambient conditions. For a standard sanitary silicone, generally allow 24 to 48 hours before exposing the seal to water, even if its surface may seem dry much earlier.
This delay prevents compromising the adhesion and waterproofing of the seal around a shower, bathtub, or sink. Here is how to distinguish surface curing from complete hardening, check the seal before use, and what to do if it remains soft or sticky.
In brief
- ⏱️ Generally wait 24 to 48 hours before wetting a standard sanitary silicone sealant.
- 🚿 A fast-drying product may sometimes allow water exposure after 1 hour, but only under the conditions specified in its technical data sheet.
- 🌡️ Cold, bead thickness, poor ventilation, or a damp substrate slow down polymerization.
- 🔎 Do not rely solely on a surface that no longer sticks: the seal may remain soft inside.
How long should you wait before taking a shower?
For a standard sanitary silicone sealant, the cautious delay before taking a shower or using a bathtub is generally 24 to 48 hours. This time allows the sealant to polymerize sufficiently to resist water and maintain good adhesion.
The delay indicated on the cartridge or the manufacturer’s technical data sheet takes priority. A so-called “express” silicone may claim water exposure after one hour, but this indication applies only to the specific product and under precise temperature and humidity conditions.
A seal that no longer sticks to the finger is not necessarily fully cured inside: surface curing and complete drying are two different stages.
What is the difference between surface drying and complete hardening?
Surface curing corresponds to the moment when a thin film forms on the silicone. It can occur within a few tens of minutes or a few hours. The seal then appears dry, but the layers underneath continue to harden.
Complete hardening, also called polymerization, generally progresses from the surface inward. For SikaSeal-182 Sanitary Express 1h, the technical data sheet mentions a skin formation time of about 25 minutes at 23 °C and 50% relative humidity, as well as a polymerization rate of about 2 to 3 mm in 24 hours under these conditions.
A thick bead can therefore remain flexible longer than a thin line. The depth of the seal must remain less than half its width and the bead must be non-through, to promote regular polymerization.
What delays should be expected depending on bathroom use?
The shower and bathtub expose the seal directly to a significant amount of water. For a standard product, it is preferable to let it dry at least 24 hours and, when the instructions recommend it or conditions are unfavorable, wait up to 48 hours.
A sink may seem less demanding, but repeated splashes can also reach a still fragile seal. A very fine touch-up can harden faster, without allowing you to ignore the manufacturer’s instructions.
| Situation | Cautious delay | Points of attention |
|---|---|---|
| Standard sanitary silicone | 24 to 48 hours | Check the instructions and seal thickness |
| Fast-drying product | According to technical data sheet, sometimes 1 hour | Respect the specified temperature and humidity |
| Thick seal or cold conditions | Rather 48 hours or more depending on the product | The core may remain soft despite a dry surface |
| Fine touch-up on properly prepared substrate | Variable depending on the manufacturer | Do not generalize the delay of a touch-up to a complete seal |
These timeframes are rough estimates, not a universal authorization. To know the exact time before wetting a joint, read the mention “re-watering,” “water resistance,” or “curing” on the packaging.
How to prepare the surface before redoing a silicone joint?
A poor surface can give the impression of a drying problem when the silicone actually adheres poorly from the start. Before application, completely remove the old joint, eliminate residues, degrease the surfaces, then let them dry.
The surface must be stable, clean, and free of water at the time of application. If the old joint shows deeply embedded mold, detachment, or infiltration, simply replacing the silicone does not necessarily solve the cause.
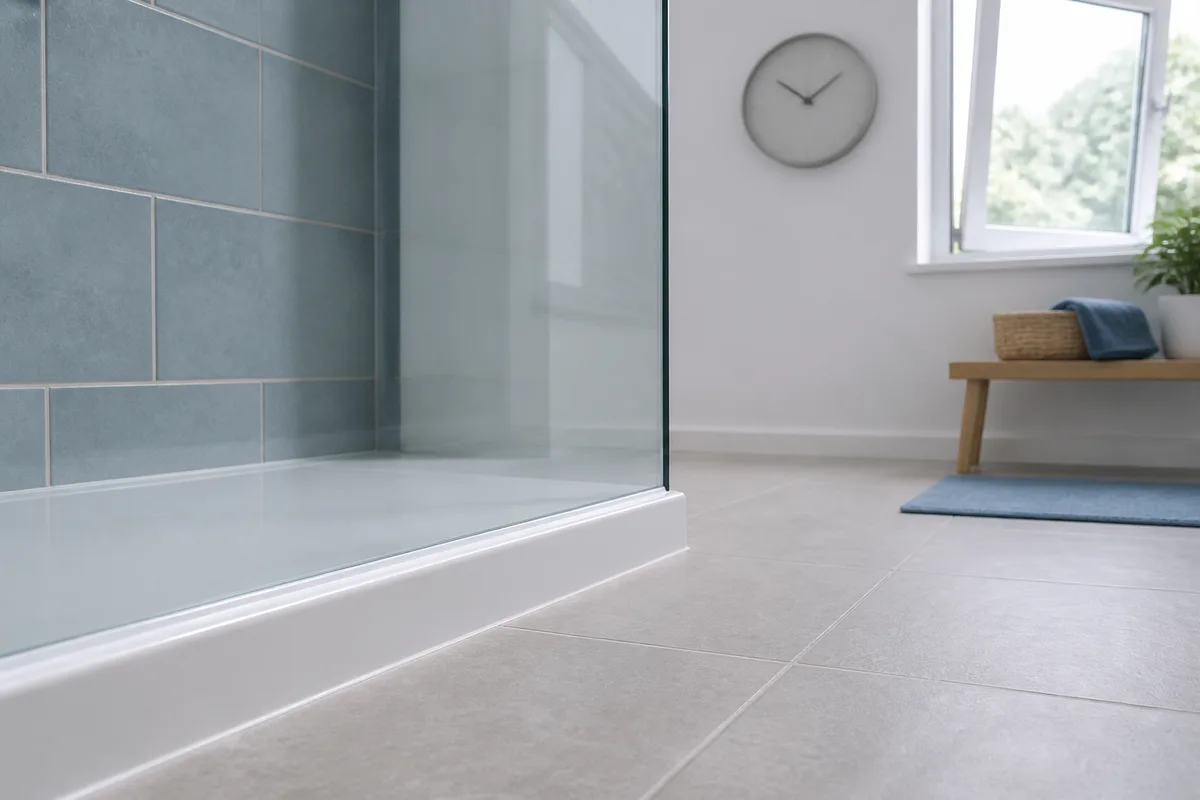
For a larger renovation project, waterproofing principles must be anticipated from the design stage. Preparing a walk-in shower at home requires particular attention to the surfaces and areas exposed to water.
How to apply a silicone joint to achieve even drying?
The application must be done within the temperature range indicated by the manufacturer. General recommendations are often between +5 °C and +40 °C, but the product instructions should take precedence.

- Remove the old joint with a suitable tool, without damaging the surfaces or neighboring sealing elements.
- Clean and degrease the surfaces, then wait until they are completely dry.
- Apply a continuous and regular bead, without creating excessive thickness.
- Immediately smooth the joint to remove excess and obtain uniform contact with both surfaces.
- Avoid any contact with water, cleaning products, and friction during the indicated delay.
Smoothing must be done immediately after application, before skin formation. Manufacturers may recommend a smoothing tool or a slightly moistened finger, but it is better to follow the method indicated in the instructions rather than adding an unplanned product.
Drying starts with good preparation: silicone applied on a damp or greasy surface can detach, even after several days.
What factors slow down the drying time of sanitary silicone?
Silicone hardens through a reaction with moisture in the air. This does not mean you should deliberately wet the joint. Excess water, a poorly ventilated room, or a damp surface can disrupt adhesion and finish quality.
- Low temperature generally slows the polymerization reaction.
- A bead that is too thick increases the time needed for full curing.
- Poor ventilation can extend the delay in a confined bathroom.
- A damp or poorly degreased surface promotes detachment and sealing defects.
- An old or poorly stored product may perform differently than stated.
Ventilate the room without directing strong heat directly onto the joint. Artificially accelerated surface drying does not guarantee uniform curing inside.
How to check if a joint is ready to be wetted?
The most reliable check is to compare the joint’s condition with the delay indicated on the packaging, then observe its surface without stressing it. If the manufacturer specifies 24 hours, wait this period even if the silicone seems dry after a few hours.
The joint should not show abnormally soft shiny areas, displacement under very light pressure on a non-visible part, or detachment at the edges. However, avoid touching it repeatedly: each contact can mark the finish or move the bead.
If in doubt, extend the waiting time. A few extra hours cost less than a leak behind a bathtub, furniture, or shower wall.
What happens if the bathroom is used too early?
Premature re-exposure to water can soften the surface, displace the bead, or create a gap between the silicone and the substrate. The seal may then appear correct while showing a progressive leak during subsequent uses.
Water and cleaning products can also damage the finish of a seal still curing. If the bead has been noticeably deformed, detached, or contaminated, it is often safer to remove the affected part and redo the application on a clean surface.
What to do if the silicone seal remains soft after 48 hours?
A seal still soft inside after 48 hours is not necessarily defective if the bead is thick or if the application conditions were cool. However, a sticky surface, silicone that does not form a skin, or persistent detachment should prompt checking the product and the substrate.
- Reread the curing time and temperature conditions on the technical data sheet.
- Check that the product is intended for sanitary use and that it is not expired.
- Look for moisture present under the bead or on the substrates at the time of application.
- Do not cover a soft seal with a new layer of silicone.
- If the product remains abnormally sticky, remove it, clean the substrate, and start again with a suitable product.
When infiltration is significant, the substrate is damaged, or water reaches an electrical area, stop using the installation and seek the advice of a qualified professional.
Which silicone to choose for a bathroom?
The choice mainly depends on the use, the substrate, and the acceptable time frame. A classic sanitary silicone is suitable for many joints around a sink, bathtub, or shower, while a fast-drying product is more suitable for a quick re-exposure to water requirement.
| Option | Suitable use | Advantage | Limitation |
|---|---|---|---|
| Classic sanitary silicone | Seals for shower, bathtub, or sink | Common choice for planned application | Generally allow 24 to 48 hours before water exposure |
| Fast-drying silicone | Intervention requiring quick re-exposure to water | Announced shorter curing time | Strict adherence to usage conditions required |
| Silicone compatible with a specific substrate | Special materials according to product sheet | Better match with the substrate | Compatibility must be verified before application |
The SikaSeal-182 Sanitaire Express 1h is an example of a product whose manufacturer announces water exposure after one hour of curing between 23 °C and 30 °C, with about 50% humidity. This data should not be generalized to all silicones. Its observed price is about €14.95 including tax for a 300 ml cartridge, but price and availability may vary.
What mistakes delay drying or weaken the seal?
Defects observed after application do not always come from the chosen curing time. Some errors directly affect adhesion, thickness, or the product’s ability to cure properly.
- Wet the seal as soon as it no longer sticks: the surface may be dry while the core remains fragile.
- Apply on a damp substrate: trapped water can cause edge detachment.
- Apply a bead that is too thick: curing becomes slower and less uniform.
- Heat the area strongly: a skin may form quickly without internal curing being complete.
- Add soap, saliva, or an unapproved accelerator: these practices can alter the finish or product compatibility.
The right compromise is simple: follow the instructions, keep the room under normal conditions, and postpone using the shower if the curing time is uncertain.
How to maintain a silicone seal after it has dried?
Once the seal is completely hardened, clean it with compatible products specified by the manufacturer. Avoid scraping the surface with a metal tool or leaving stagnant water on the joints for a long time.
Superficial black spots may indicate mold growth, but a detached, cracked, or hollowed seal usually needs to be replaced rather than just cleaned. Regular ventilation of the bathroom limits condensation and prolongs the durability of the seals.
Useful sources to consult
Sika France provides installation advice and technical information for its sanitary products. The manufacturer’s datasheet should be used to verify the water exposure delay, application temperatures, skin formation, and polymerization speed.
For the implementation rules of a specific product, also consult its packaging, technical datasheet, and, when necessary, its safety datasheet. The deadlines announced by a seller do not replace the manufacturer’s instructions.
Key points to remember
- ⏳ For a standard sanitary silicone, generally allow 24 to 48 hours before wetting the seal.
- 🧪 A quick surface set does not mean that complete curing is finished.
- 📄 The product instructions are the reference, especially for fast-drying silicones.
- 🛁 If the seal remains soft, sticky, or detached after the expected time, do not cover it: check the substrate and consider a new installation.
Frequently asked questions
Can you take a shower after twelve hours?
For a standard sanitary silicone, twelve hours is generally insufficient: rather wait 24 to 48 hours. An exception may exist with a fast-drying product, only if its technical datasheet allows water exposure after this time.
Can the sink be used during drying?
It is better to avoid splashes and any direct contact with the seal before the recommended time ends. If use is essential, check precisely the water exposure mention of the product used rather than relying on the surface appearance.
Should the window be left open during drying?
Normal ventilation can help maintain favorable conditions, especially in a humid bathroom. However, avoid extreme drafts and strong heating directed at the seal, which do not guarantee faster core curing.
How long to wait before cleaning the seal?
Wait at least the curing time indicated on the cartridge before applying water or a cleaning product. For a standard sanitary silicone, this often means waiting 24 to 48 hours, or longer if the bead is thick or the room is cold.
Why is my sanitary seal still sticky after two days?
A damp substrate, a bead that is too thick, low temperature, or an unsuitable product can explain this delay. If the surface remains clearly tacky or if the seal detaches, remove it and seek advice from the manufacturer or a professional before reapplying.