
If you have already installed drywall with MAP (adhesive mortar), you know that this system can quickly become a hassle when it no longer holds. You install your panels thinking everything is fine… and a few weeks later, you hear that dull little noise or spot a bump that betrays a drywall coming loose. It’s frustrating, especially after spending hours on site preparation. In this article, we will review the causes of detachment, see how to repair it, and share tips to avoid these mistakes. We will talk about real-life anecdotes and really useful tricks so you don’t have to redo the job twice.
📋 The essentials at a glance: Personally, I consider that 90% of MAP detachment problems are related to a support that is too dusty or too absorbent. My experience shows that simple brushing is not always enough; a bonding primer is often necessary. By applying this method, I have halved my after-sales service interventions on my recent sites.
Why does drywall glued with MAP often come loose?
The nightmare of drywall coming loose sometimes happens even to the most methodical DIYers. To understand how to avoid it, you need to start by knowing the main causes of detachment. It’s not always because it was glued poorly, but it can come from many factors related to the site itself.
Often, the finger is pointed at poor surface preparation or a problem related to the application of the adhesive mortar. Sometimes, it’s simply an excess of humidity that makes the difference. There are also classic errors in installation or material choice. Let’s review them.
🎒 On site: In 2024, on a site in Lyon, I saw 15 drywall panels come loose from a shuttered concrete wall because the support was too smooth. I had to start all over and lost 400 euros worth of materials in one day. The lesson is clear: never skip the moisture and adhesion test before applying your glue spots.
What are the effects of poor surface preparation?
A dusty, greasy, or surface showing traces of old adhesives is very likely to compromise adhesion. When you try to stick new drywall on a wall that has neither been dusted nor moistened, the MAP does not adhere properly. I have seen walls come back to life simply thanks to thorough brushing and a good vacuuming before installation.
Another point: if the wall is too smooth or conversely too crumbly, it risks absorbing the humidity from the MAP or letting the glue come off with a bit of plaster as it dries. There’s nothing wrong with giving a little bonding primer or slightly wetting the surface to avoid having drywall coming loose three weeks later.
To go deeper, I recommend checking the mortar dosage which complements this topic well. Our guide to choosing soundproof drywall also offers useful leads. And to go further, knowing how to build a partition wall provides interesting insight.
How does humidity cause drywall detachment?
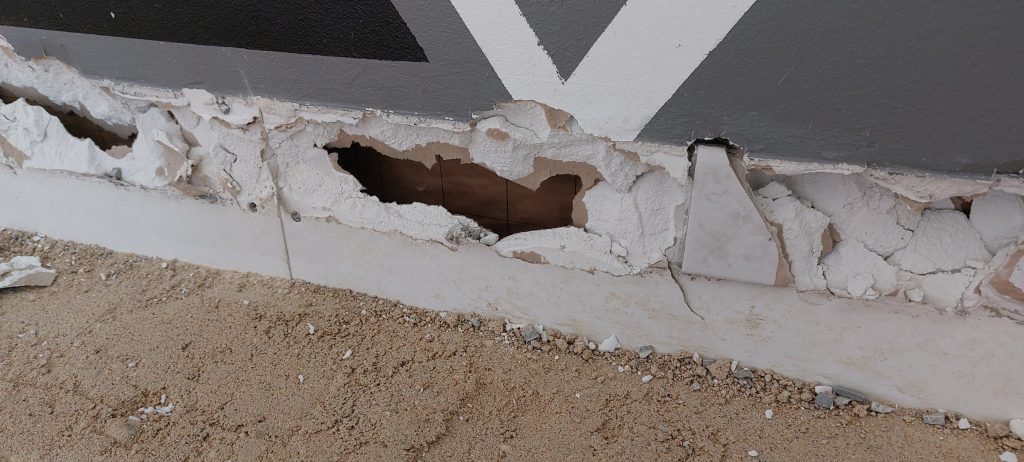
Humidity is often the main cause of detachment. Whether it is a poorly insulated exterior wall, a hidden leak, or simply a room prone to condensation, the slightest excess slows down the setting of the MAP. Humidity prevents the glue from properly setting, and then, hello damage.
During a renovation, I faced a damp wall: it was impossible to stick anything permanently. It was necessary to ventilate, heat, and treat the area for several days before resuming installation – to give the adhesion every chance. Always check that there is no persistent moisture problem before any repair attempt.
⚠️ Common mistake
Preparing too large a batch. MAP starts to set after 45 minutes. If you continue to install your boards after this time, the adhesion will be superficial and detachment inevitable a few weeks later.
Common mistakes when installing with MAP
Even with a prepared substrate, some clumsiness during installation inevitably leads to drywall detachment. An incorrect dosage of adhesive mortar or a rushed application remains a classic cause.
In the rush to save time, we sometimes forget that every step counts and that a bit of rigor helps avoid many disappointments. Here are the points where you need to be extra careful to avoid damaging the drywall right from the installation.
💡 Practical tip
For perfect adhesion, count about 1.5 kg of MAP per square meter. Space your spots 30 cm apart horizontally and vertically to ensure an even distribution of loads.
What are the consequences of poor glue application?
Applying the MAP hastily or in too thin a layer significantly reduces its adhesive power. Irregular filling under the board creates air gaps and thus a loss of support. Result: cracks, popping sounds when tapping the wall, or even falling boards.
While working on double layers, I learned that it is better to apply generous spots, staggered, rather than spreading a thin uniform layer. The drywall thus better conforms to the substrate and the mortar fully performs its function.
Why does the amount of MAP used vary depending on the situation?
🌍 Did you know?
MAP has a pull-off strength of more than 10 kg per square centimeter once dry. It is one of the most resistant mortars, but its performance depends 100% on the porosity of the substrate on which it is applied.
Some apply too much, others not enough: this is a common mistake. The amount of mortar depends on the flatness of the substrate, the size of the board, and even the ambient humidity level. Too much adds unnecessary weight, too little will not fill the irregularities.
Testing on a small surface helps to find the right formula: it’s about not being stingy, while avoiding waste. Testing, adjusting, and learning on each wall section is how you truly progress in DIY and drywall installation.
- Carefully prepare the surface (cleaning, moistening)
- Follow the recommendations for the MAP mortar dosage
- Wait until indoor humidity is controlled before installation
- Check flatness and adjust the glue thickness
- Never rush the pressure applied during bonding
What effective solutions should be adopted to repair drywall that is peeling off?
We know that DIY often means fixing your own mistakes. If you discover a drywall panel starting to peel off, some techniques can save the situation without breaking everything. It all depends on the degree of detachment, so you need to act at the first signs.
As soon as you start a repair project, always look behind the affected panel: it’s impossible to hide an old humidity problem or a poorly done MAP application under a new coat. Filling, re-gluing, and reinforcing require method and patience for a lasting repair.
🌟 Advantages
- Quick and economical installation
- Correction of misalignments
- Extreme durability
🔍 Limitations
- Sensitive to dust
- No technical void
How to perform a local repair without removing everything?
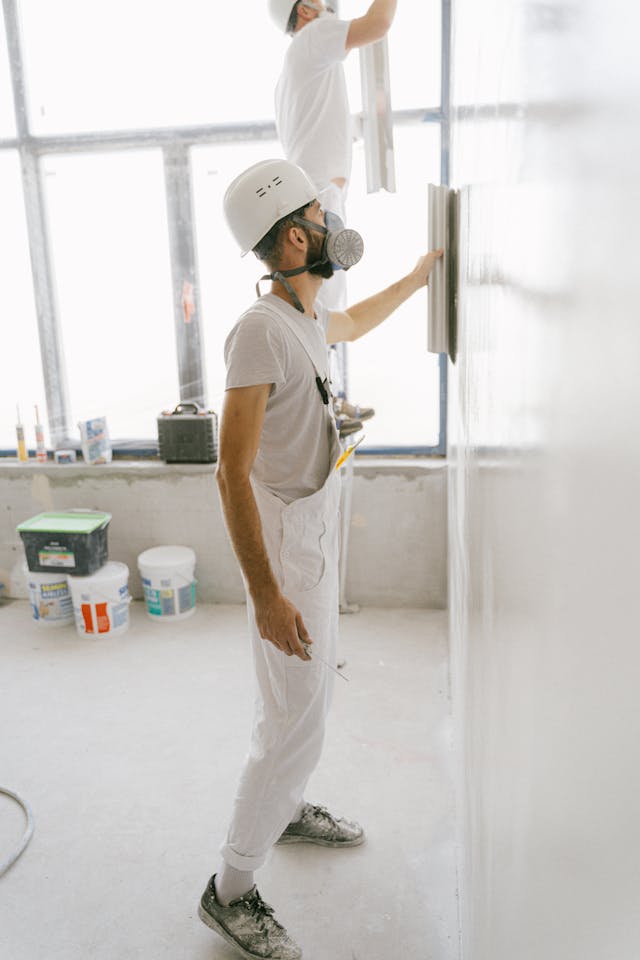
For a slight detachment, discreetly drill a hole in the panel then inject a small amount of appropriate glue using a special syringe or a cartridge with a fine nozzle. After that, apply prolonged pressure (for example with wedges screwed against a large board).
This technique works well provided you eliminate dusty supports and work on a dry surface. I prefer to make multiple small injection holes rather than forcing too much glue at once, to achieve a uniform distribution.
When should you consider completely replacing a panel?
If the panel is literally hanging or if it’s widespread over the entire wall, there’s no point in looking for miracle patches! Here, it’s better to remove the affected part, scrape off the old mortar, treat the wall, and start the installation anew with fresh MAP after a good surface preparation. It’s tedious but more reliable over time.
During major renovations, this step is often necessary in humid rooms. Do not keep any trace of rotten glue or warped plaster, or you risk quickly encountering the same problem again. A bit more work upfront, much more peace of mind afterwards.
Estimez la quantité de sacs nécessaires pour votre collage de plaques.
15.0 kg
Installation Tips and Anti-Peeling Tricks
For stress-free DIY and durable partitions, certain habits must become automatic. Knowing how to recognize the right consistency of the joint compound, meticulously following all the steps of surface preparation, and anticipating the peculiarities of each room radically change the outcome.
It cannot be repeated enough: every project requires time, patience, and a critical eye. Success is measured not only in square meters covered but in years of peace of mind gained.
What are the mistakes to absolutely avoid?
Ignoring a suspicious surface or neglecting ventilation is enough to ruin a beautiful day on site. Others also forget to properly dose the water in the mix, which alters the final hold of the joint compound and weakens the adhesive.
My experience has shown me that it is better to lose 30 minutes preparing and checking every parameter than to waste days repairing later. A repetitive task, certainly, but oh so rewarding!
Some good practices for a successful installation
Always start by identifying the actual condition of the surface, measuring or correcting the humidity level if necessary, and monitoring the progress during the adhesive setting. Leaving the room closed for several hours after installation ensures better durability.
On my sites, I now take the time to note what didn’t work. A personal list of past mistakes prevents falling into the same trap twice, and believe me, it grows quickly when dealing with drywall installation with joint compound!


