Filling a wall plug hole in a wall before repainting: the clean and durable method
To fill a wall plug hole in a wall, first remove the fixture when possible, clean the cavity, then use a filler suitable for the surface. Careful preparation prevents the repair from sinking, cracking, or showing through after painting.
This tutorial details the necessary tools, the steps to take depending on the type of wall plug, and the finish to apply before repainting. You will also learn when to treat the hole in several passes and why a simple coat of paint is not enough.
In brief
- 🧰 Remove the wall plug if it can be taken out without further damaging the wall.
- 🧹 Clean, dust off, and lightly sand the edges before applying the filler.
- ⏳ Wait for the drying time indicated on the product; a delay of at least two hours is commonly recommended before sanding a standard filler.
- 🎨 For a discreet finish, add a smoothing filler, a primer coat, then paint suitable for the wall.
How to identify the hole and the nature of the wall?
First observe the size of the hole, the visible material, and any possible metal collar. A support made of plasterboard, solid plaster, brick, or concrete does not react the same way when removing the wall plug.
A small screw hole in a sound wall can be quickly filled with filler. However, a widened, crumbly, or deep hole requires more careful preparation and sometimes several successive applications.
| Observed situation | Product or method | Point of caution |
|---|---|---|
| Standard plastic wall plug | Screw, pliers then filler | Avoid pulling abruptly to not enlarge the cavity |
| Metal expansion wall plug in plasterboard | Detach the metal collar then push the rest back into the partition | Work without pressing hard on the board |
| Small shallow hole | Ready-to-use filler | Do not cover dust or crumbly edges |
| Deep or widened hole | Filler in several passes, according to instructions | A layer too thick may dry slowly or shrink |
A durable repair starts with a clean and stable cavity, not with a large amount of filler applied on the surface.
What equipment to prepare to fill a wall plug hole?
Gather all the equipment before starting so as not to handle the filler with dirty hands or leave a layer to dry while looking for a tool. For a common hole in an interior wall, the equipment remains limited and accessible.
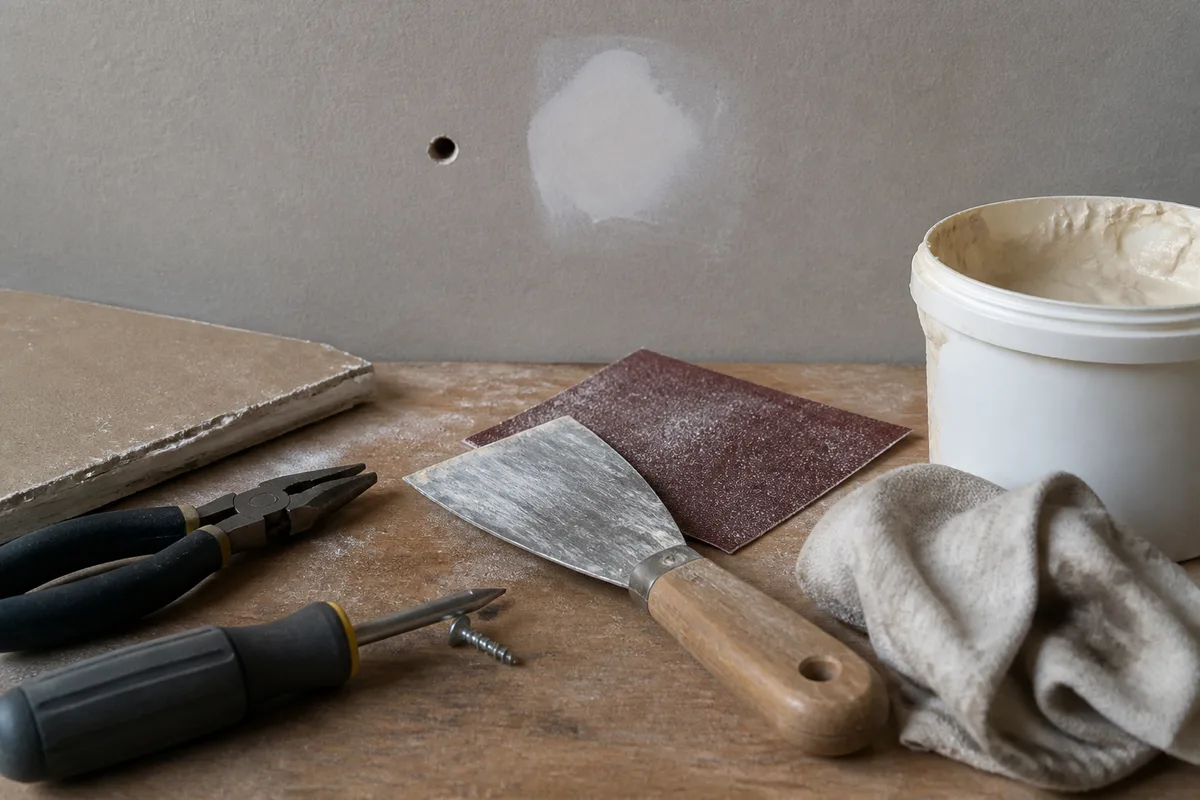
- A screwdriver or screw with a diameter compatible with the wall plug.
- Pliers to grip the screw and extract a plastic wall plug.
- A filling knife or a small spatula.
- Filler, ready-to-use or powder to mix.
- Smoothing filler for the final layer if the surface must be perfectly flat.
- Sandpaper or a sanding block.
- A soft brush, cloth, or vacuum cleaner to remove dust.
- A tarp and masking tape to protect the floor and nearby elements.
When working around an old metal fixture, choose an appropriate tool and wear protective glasses. If the hole is near a cable, pipe, electrical installation, or structural element, stop the work and have the area checked by a qualified professional.
How to remove a wall plug without enlarging the hole?
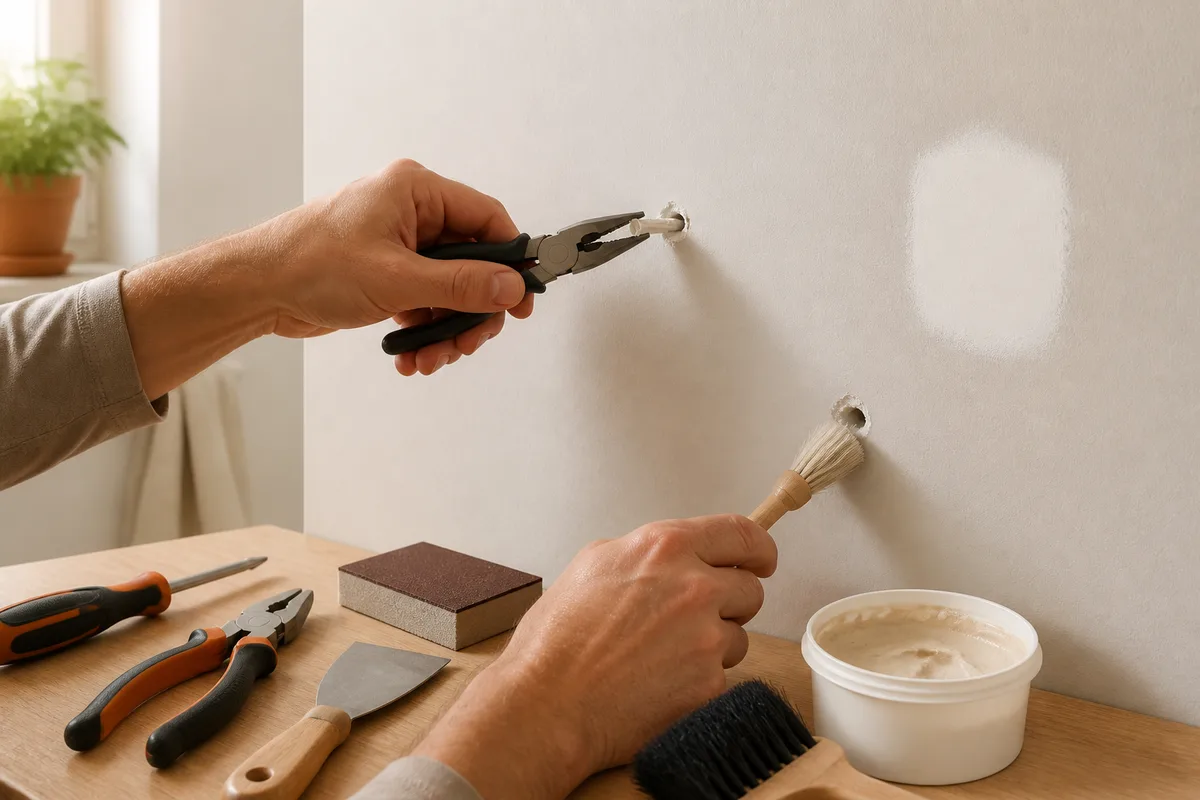
For a standard plastic wall plug, screw a screw into the plug without going all the way through to the other side, then gently pull with pliers. For a metal expansion plug like a Molly in drywall, the method differs: the collar can be detached with a sharp drill bit, then the rest pushed into the cavity behind the partition.
The removal must be gradual. If the support begins to crumble or if the plug resists strongly, do not force it: enlarging the hole would complicate filling and could weaken the plasterboard.
Step 1: identify the wall plug
Remove the remaining screw and illuminate the inside of the hole. A plastic plug is usually recognized by its colored material, while a Molly plug has a metal collar visible on the surface of the drywall.
The expected result is a cavity cleared of the fixing or, when complete removal is not reasonable, a plug placed below the surface level. Do not leave a metal collar protruding, as it would prevent obtaining a flat wall.
Step 2: extract a plastic wall plug
Insert a screw into the plug for a few turns. Then grasp the screw head with pliers and pull along the axis of the hole, using small movements rather than giving a lateral jerk.
After extraction, check that plastic and plaster fragments do not remain in the cavity. This method is suitable for standard plugs that are not blocked behind a panel.
Step 3: treat a metal expansion plug
For a metal collar plug in drywall, drill the collar with a well-sharpened bit, at high speed and without pressing hard. Once the collar is detached, push the body of the plug into the cavity behind the panel rather than trying to pull it out towards you.
This operation may slightly enlarge the area to be repaired. If the hole reaches a significant size, sometimes around 25 to 30 millimeters, check the rigidity of the perimeter before applying filler and plan for a more substantial patch.
To avoid making a poorly sized fixing in drywall again, also consult this guide on the correct size of Molly plug.
How to prepare the cavity before applying filler?
After removing the plug, clean the edges with a soft brush or a dry cloth. Remove any loose flakes, then lightly sand the paint and plaster around the hole to create a sound area and promote adhesion.
The hole must be free of dust before filling. A poorly cleaned cavity can trap debris between the support and the filler, which encourages a hollow or detachment when sanding.
- Very slightly widen the crumbly edges with the tip of a knife, without unnecessarily digging.
- Brush or vacuum the dust present in the hole.
- Sand the paint around the area to remove any reliefs.
- Wipe one last time with a clean, dry cloth.
- Check that the support shows no infiltration, no evolving cracks, and no hollow-sounding parts.
If the wall is wallpapered, avoid tearing off a large area of paper around the hole. A ready-to-use white filler may be suitable for a small repair, but the texture and shade of the paper may remain visible after drying; do a discreet test before treating the main area.
How to apply filler in the wall?
Choose a filler to fill the depth and not just a finishing product. Load the putty knife, push the product into the cavity insisting on the bottom, then smooth the surface by removing the excess before it dries.
A shallow hole can be filled in one thin pass. For a deep or enlarged hole, proceed in several layers according to the product instructions, as excessive thickness risks shrinking or staying damp in the center.
Step 4: fill a small hole
Place a small amount of filler on the knife, then work it into the hole with crisscross strokes. Keep the blade almost flat to remove excess and leave a slightly overfilled surface, as the product may shrink when drying.
The expected result is a cavity completely filled, without air pockets or edges lifting. Do not try to achieve a perfect finish with the filler: smoothing and sanding come afterward.
Step 5: Treating a deep or widened hole
Apply a first layer intended to fill the bottom, then let it dry according to the instructions. Add an additional layer if a hollow appears, without applying a thick mass all at once.
For a large hole in drywall, check that the edges of the panel remain solid. A repair that goes beyond a simple anchor hole may require a wider patch of the facing, especially if the panel is torn or flexible.
The right approach is to fill the depth gradually, then reserve the smoothing compound for the few finishing millimeters.
How long to wait before sanding and repainting?
Drying time depends on the thickness applied, the nature of the compound, the temperature, and the humidity of the room. For standard filling, wait at least two hours before sanding, unless otherwise indicated on the packaging.
A large hole may require about 24 hours of drying, or even more. Do not rely solely on the surface color: press very lightly next to the repair and postpone sanding if the product remains soft.
Step 6: Sand the repair
Sand with a sanding block to keep a flat surface. Start by removing excess thickness, then use a finer abrasive to gradually blend the repair into the wall.
Illuminate the area with grazing light to spot hollows and bumps. If a hollow remains, apply a new thin layer of smoothing compound, let dry, then sand lightly.
What finish to apply before repainting the wall?
Once the filling is sanded, dust off the surface before applying a smoothing compound if the wall needs a regular finish. After it dries, sand again gently, then remove all dust before the primer.
The primer reduces the difference in absorption between the compound and the old paint. Without this step, the repair may form a halo or show a difference in gloss, even if it appears perfectly smooth to the naked eye.
Step 7: Even out then paint
Apply the primer on the repaired area and extend slightly around to avoid a too sharp transition. Let dry according to the instructions, then apply the paint respecting the same finish appearance as the rest of the wall.
A local touch-up may remain noticeable if the existing paint has aged, if its shade has changed, or if its application leaves a texture difference. In this case, repainting a larger area, or even the entire wall section, generally gives a more homogeneous result.
To limit marks during the last step, find these tips on the equipment for painting a wall without marks.
Which product to choose depending on the type of repair?
Filling compound remains the main choice for an anchor hole in an interior wall. Acrylic putty can be handy for a very small defect or joint, but it is not intended to replace deep filling; silicone should be avoided when the area will then be painted.
| Solution | Suitable use | Limit |
|---|---|---|
| Filling compound | Screw holes, anchors, and cavities in plaster | Must dry before sanding |
| Smoothing compound | Final layer and correction of small irregularities | Does not replace deep filling |
| Acrylic putty | Very small defects or joints likely to be painted | Less suitable for a deep cavity |
| Silicone | Joints exposed to water, depending on the product | Paint adheres poorly on many silicone surfaces |
For a white wallpapered wall, a ready-to-use white product can limit the shade difference, but it does not eliminate texture differences. For a brick or concrete wall, check that the chosen compound is compatible with a mineral substrate and with the thickness to be filled.
What mistakes to avoid when filling?
Visible defects after painting often come from too quick preparation rather than a bad final gesture. Here are the most common pitfalls and how to avoid them.
- Painting directly on the anchor: the fixture can create a relief or continue to move. Remove it when possible, or place it below the wall level before filling.
- Filling a deep hole in a single layer: the core of the filler dries poorly and may shrink. Work in successive passes.
- Neglecting dust: filler adheres less well on a powdery surface. Brush, vacuum, and sand the edges before application.
- Sanding too early: a still wet filler tears off and forms a hollow. Respect the manufacturer’s drying time and extend it for a thick repair.
- Forgetting the undercoat: a halo or difference in gloss may appear under the paint. Even out absorption before the finishing coat.
A perfectly flat touch-up can still be visible if the old paint and the new paint do not have the same appearance or the same level of absorption.
Useful sources to consult
For drying times, substrate compatibility, and maximum application thickness, the filler manufacturer’s instructions are the immediate reference. They also specify whether the product is suitable for plaster, drywall, brick, or concrete.
If in doubt about a metal anchor, a weakened partition, or a wall exposed to moisture, seek the advice of a qualified professional. This precaution is particularly important if the hole is near an electrical network, a pipe, or a load-bearing element.
Key points to remember
- 🛠️ Remove the anchor using a method suited to its nature and avoid rough pulling.
- 🧽 Clean and sand the edges to ensure the adhesion of the filler.
- 📏 Fill a deep hole in several passes rather than with a thick layer.
- ⏱️ Wait for complete drying, sand, smooth if necessary, then apply an undercoat.
- 🖌️ Accept that a local touch-up may remain visible when the old paint has changed in appearance.
Frequently Asked Questions
Can you fill a hole from an anchor without removing the anchor?
Yes, if the anchor is slightly recessed and does not move, you can fill around it with a suitable filler. This solution is less appropriate if the fixture protrudes, remains mobile, or contains a visible metal part.
What product should be used to fill a deep hole in a wall?
Use a filler compatible with the substrate and apply it in several passes. A smoothing filler is then used only to obtain a regular surface before painting.
How long should you wait before painting?
Wait for the filler to dry completely, then sand and dust off the area. A standard filling often requires at least two hours before sanding, while a large hole may need about 24 hours; the product instructions take precedence.
Why is the repair visible after painting?
The difference may come from a hollow, an excess thickness, uneven sanding, or different absorption of the repaired substrate. A layer of smoothing filler, an undercoat, and paint applied over a sufficiently large area reduce this risk.
How to fill an anchor hole in drywall?
Remove the plastic anchor with a screw and pliers, or detach the collar of a metal anchor before pushing its body back into the partition. Then clean the cavity, use a filler suitable for drywall, and check that the edge of the panel remains rigid.