How long should you wait between two coats of varnish or stain on wood?
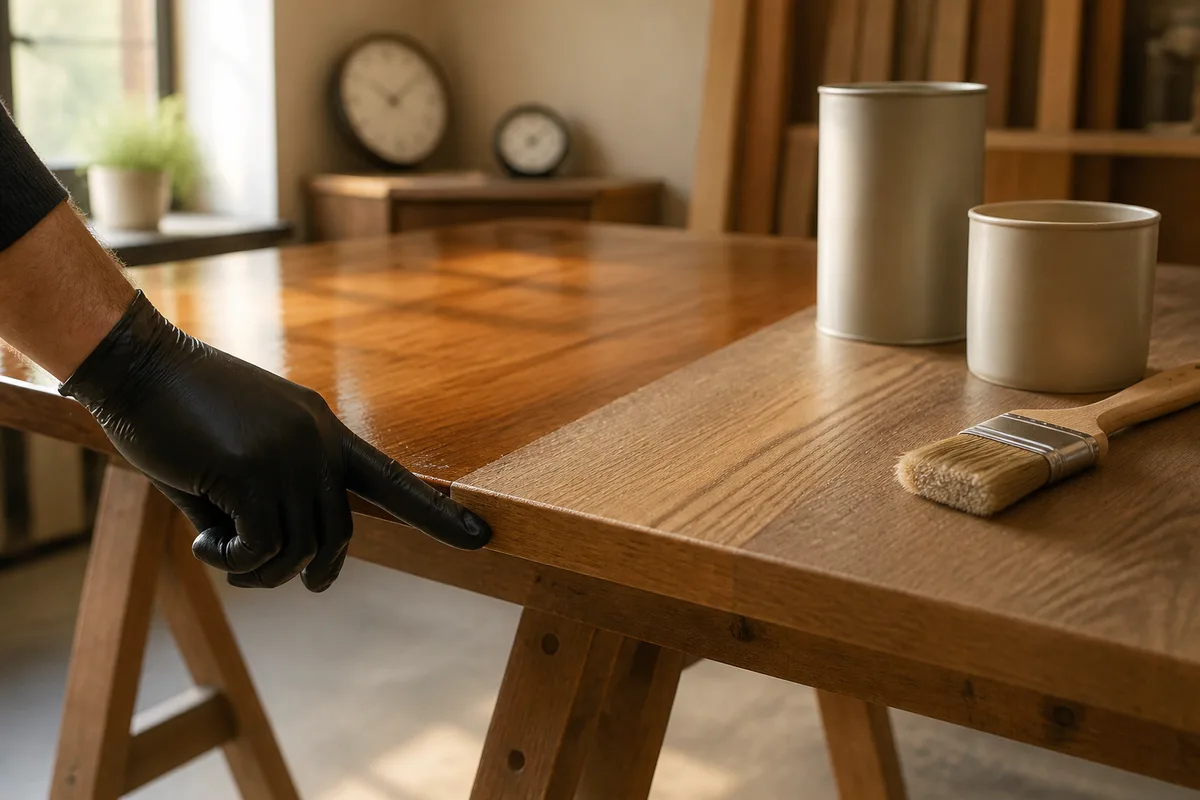
The time between two coats of varnish or stain on wood depends on the product, temperature, humidity, and the thickness applied. As a guideline, a stain can be recoated after about 4 to 12 hours under good conditions, while a solvent-based product or a thick coat often requires more patience.
The manufacturer’s instructions remain the primary reference: they generally distinguish between touch drying, recoating time, and full curing. This guide explains how to read these indications, check for sticky wood, sand between coats, and avoid finishing defects.
In brief
- ⏱️ The time between two coats can range from about 4 hours to 24 hours depending on the formulation and conditions.
- 💧 A surface dry to the touch is not necessarily ready to be recoated: check for the absence of stickiness and follow the technical sheet.
- 🪵 A coat that is too thick, damp wood, or a cold atmosphere greatly slows drying.
- 🧽 A light sanding can improve adhesion, but only when the product recommends it or if the surface has roughness.
How long should you wait between two coats?
Under conditions close to 23 °C and 50% relative humidity, some stains indicate a recoating time of about 4 hours. For a different varnish or stain, the time may be longer: the product’s technical sheet always takes precedence over this general estimate.
Three stages must be distinguished. “Dust-free” drying means particles adhere less easily, touch drying concerns the surface, while the recoating time corresponds to when a new coat can be applied without softening or moving the previous one.
The right reference is not just a surface that seems dry: it is a surface that is dry, non-sticky, and compliant with the recoating time indicated by the manufacturer.
What are the average times depending on the product used?
The values below are rough estimates intended to prepare the worksite, not to replace the instructions. The drying time of wood varnish varies notably depending on the composition, the porosity of the substrate, and the amount applied.
| Product | Indicative time between two coats | Points of caution |
|---|---|---|
| Water-based wood varnish | About 2 to 6 hours | Drying may seem fast, but the film remains fragile before full curing. |
| Solvent-based varnish | About 6 to 24 hours | Low temperatures and lack of ventilation prolong solvent evaporation. |
| Water-based stain | About 4 to 12 hours | Check the technical sheet, especially for outdoor application or humid weather. |
| Solvent-based stain | About 12 to 24 hours | A coat that is too generous can remain sticky well beyond the theoretical time. |
An example documented by the manufacturer Syntilor indicates, for a given exterior stain, 4 hours between two coats at 23 °C and 50% relative humidity. This indication does not automatically apply to all stains: consult the technical sheet corresponding exactly to your can.
Complete drying occurs later than recoating. A piece of furniture can therefore receive a new coat after one night while still requiring several more days before intensive use, wet cleaning, or placing heavy objects back.
Varnish, stain, or oil: which finish to choose according to the need?
Varnish, stain, and oil do not provide the same type of protection. For an interior surface subject to wear, varnish generally creates a protective film; for cladding or exterior joinery, a stain leaves the grain more visible. Oil penetrates the wood but requires different maintenance and does not always replace varnish.
| Finish | Suitable use | Advantage | Limitation |
|---|---|---|---|
| Water-based varnish | Furniture or interior wood finish | Generally less persistent odor and often faster drying | Sensitive to cool or humid conditions during application |
| Solvent-based varnish | Film-forming protection seeking a durable finish | Often tighter film and good resistance depending on formulation | Odor, ventilation, and drying time must be considered |
| Wood stain | Exterior wood, shutters, shelter, or cladding | The grain remains visible and maintenance can be done by successive coats | Protection depends on exposure and condition of the substrate |
| Wood oil | Countertops, furniture, or wood seeking a matte and natural look | Pens the substrate and does not create the same film as varnish | More regular maintenance and compatibility must be checked with the previous finish |
For a facade, the choice of finish must also take into account the design of the substrate, water drainage, and rear ventilation. The installation rules of wood cladding for a durable facade remain decisive, even with a suitable stain.
What affects the drying time of varnish?
The drying time of varnish depends on a balance between evaporation and curing. A cool room, humid air, or a substrate that poorly absorbs the product can turn a stated drying time into a mere estimate.
Temperature and humidity
A moderate and stable temperature promotes even drying. Cold generally slows evaporation, while high humidity can delay water-based products and cause a whitish or cloudy appearance.
For exterior stain, avoid applying just before rain, on wood wet with dew, or when the temperature is likely to drop sharply during the night. The application threshold, when it exists, should be checked on the label or the manufacturer’s technical data sheet.
Ventilation and layer thickness
Gentle ventilation helps renew the air, but it should not blow dust onto the finish. **The best way to reduce drying delays is to apply regular, thin coats rather than aggressively heating the surface.**
An overloaded brush, numerous touch-ups, or a layer applied in corners create thicker areas. These can remain shiny, soft, or sticky while the rest of the wood appears ready.
Type of wood and condition of the substrate
Resinous, oily, previously waxed, or poorly degreased wood can disrupt adhesion and drying. Very porous woods absorb more of the first coat, while a closed or already saturated substrate retains the product on the surface.
Before exterior wood protection, the substrate must be clean, dry, dust-free, and free of old non-adherent parts. Excessive wood moisture can cause adhesion defects; when a threshold is indicated by technical documentation, this threshold should be used rather than a visual estimate.
How to prepare the wood and apply coats: the steps
Methodical preparation avoids confusing a drying problem with a substrate defect. These steps serve as a working base, but the manufacturer’s method should be followed if it includes a degreaser, primer, or specific sanding.
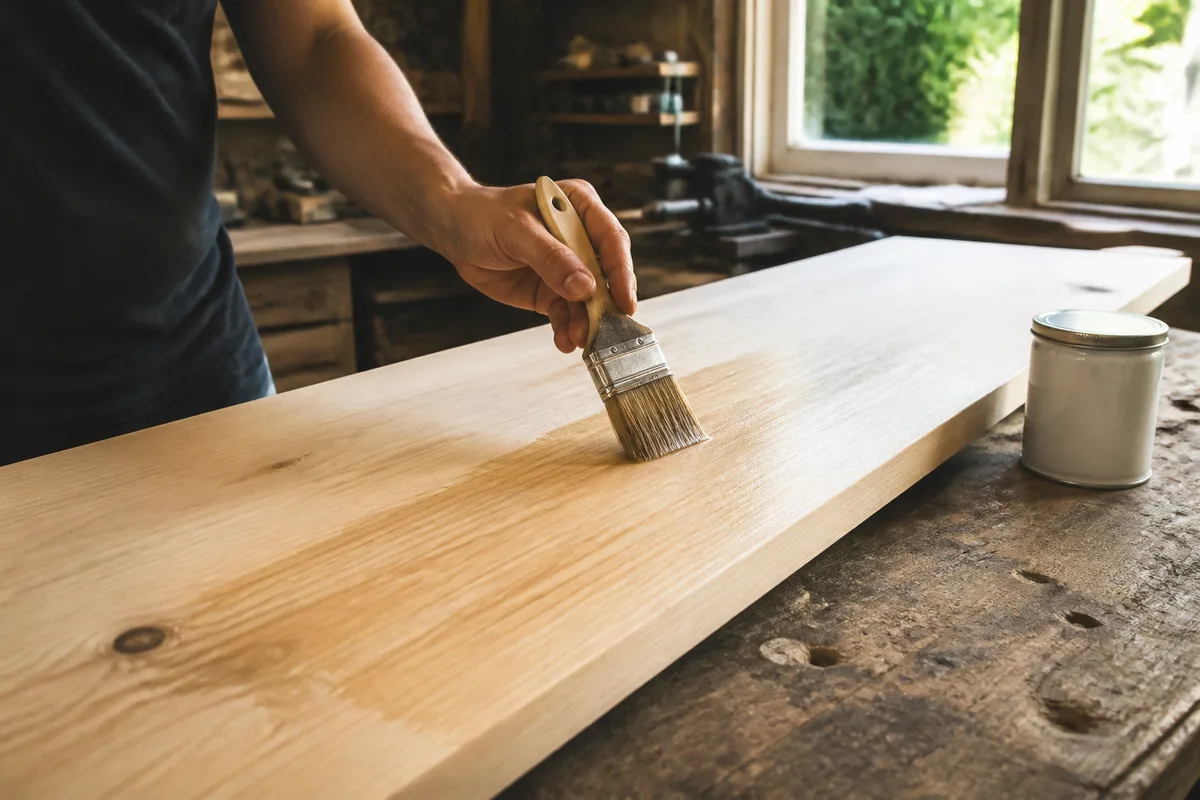
- Inspect the wood: identify old flakes, traces of wax, resin, dust, and greasy areas.
- Clean and let dry: the surface must not be damp at the time of application.
- Sand if necessary: use an appropriate abrasive, then carefully dust off.
- Prepare the product: mix gently without unnecessarily incorporating bubbles and do not dilute without official instructions.
- Apply a thin coat: work in the direction of the wood grain and avoid overloading the corners.
- Wait for the recoat time: note the application time and check the surface before continuing.
- Lightly sand or not depending on the product: remove dust after this operation, then apply the next coat.
The number of coats depends on the condition of the wood, the product, and the exposure. A stain intended for new or stripped wood may require three coats according to its technical sheet, while maintenance on an old healthy finish may require fewer.
- For indoor furniture, favor thin coats to avoid drips and touch-up marks.
- For exterior joinery or cladding, pay special attention to edges, ends, and areas exposed to water.
- For an existing finish, check compatibility before recoating, especially if the old product is waxy or very film-forming.
How to know if a new coat can be applied?
A new coat can be considered when the indicated time has elapsed and the surface is dry to the touch, not sticky, and sufficiently firm under light pressure. The check should be done in a less visible area, without pressing hard or marking the film.
Also observe the corners, grooves, and areas where the product has accumulated. If they remain shiny, soft, or sticky, wait longer instead of recoating the entire surface.
A persistent odor alone is not enough to conclude that the varnish is wet, but it suggests maintaining adequate ventilation. For a solvent-based product, follow the precautions on the packaging and keep away from any flame or spark source.
If a thick area remains soft, the drying time should be assessed on this slow area, not on the part of the board that is already dry.
Is sanding necessary between two coats of varnish or stain?
Sanding between two coats is not systematically mandatory. It is mainly useful to eliminate small roughness, raised fibers, or dust trapped in the film, provided the previous coat is dry enough not to clog the abrasive.
When light sanding is recommended
On an interior varnish, very light sanding with a fine abrasive can improve the feel and adhesion of the next coat. The goal is not to remove the protection but to gently break irregularities before thorough dusting.
If you need to work on a metal piece associated with the project, do not automatically apply the wood abrasives: the choice of tool and technique for properly sanding metal meets other constraints.
When it is better to avoid sanding
Avoid sanding a still soft film, as the abrasive may pull the product, form lumps, and create areas of uneven thickness. Some stains allow direct application between coats; in this case, sanding without instruction may reduce the uniformity of the color.
What to do if the varnish or stain remains sticky?
Wood that is still sticky often indicates a layer that is too thick, insufficient temperature, high humidity, or a poorly prepared surface. You should first stop applying, protect the surface from dust, and let the product cure under the conditions recommended by the manufacturer.
Do not add a new layer to “trap” the stickiness. Check the label, product compatibility, and the possible presence of wax, oil, silicone, or an old poorly adhering finish.
- Slightly tacky surface: extend the waiting time and maintain gentle ventilation, without a blower placed nearby.
- Very thick layer: seek advice from the manufacturer before any stripping or sanding, as the abrasive can clog and spread the product.
- Persistent defect: test in a small area and consider the intervention of a professional if the finish needs to be completely redone.
Do not try to speed up drying with intense heat, a flame, or a blower too close. Products containing solvents require ventilation according to instructions, and impregnated cloths can pose a fire risk: let them dry flat in a safe place or follow the safety procedure indicated on the packaging.
What mistakes should be avoided between two coats?
The most costly defects rarely come from just a few hours’ delay. They usually appear when a layer is covered before it has hardened, when the substrate is damp, or when conditions change abruptly.
- Relying solely on touch: a non-sticky surface may still be too soft to cover.
- Applying too much product: the layer dries on the surface but remains soft underneath.
- Working on damp wood: adhesion and final appearance may deteriorate.
- Sanding too early: the abrasive tears or spreads the film instead of smoothing it.
- Mixing incompatible systems: oil, wax, or an old varnish can prevent the new finish from adhering.
Useful sources to consult
For a reliable decision, start with the instructions and technical data sheet of the product actually used. Figures announced by another brand only serve to understand the orders of magnitude.
| Source | Data sought | Practical use |
|---|---|---|
| Syntilor product sheet | Application conditions and interval between coats for a specific stain | Compare the manufacturer’s indications with those of your product |
| INRS | Precautions related to solvents, ventilation, and flammable products | Organize a safer worksite |
| Manufacturer’s label and technical data sheet | Coverage, preparation, possible dilution, and number of coats | Determine the actually applicable interval |
Key takeaways
- ⏳ Respect the recoating interval indicated on the instructions, even if the surface appears dry.
- 🌡️ Cold, humidity, and thick layers lengthen the time between coats.
- 🧪 Water-based, solvent-based varnishes and stains do not have the same intervals or precautions.
- 🪵 Never cover wood that is still sticky without identifying the cause of slow drying.
- 🔥 With solvents, keep flames away and handle impregnated cloths according to safety instructions.
Frequently Asked Questions
Can a second coat be applied the next day?
Yes, it is often possible if the recoating interval has passed and the surface is dry, firm, and not sticky. However, check corners and thick areas, which may require more time.
How long should you wait between two coats on exterior wood?
An exterior stain can be recoated after about 4 to 12 hours in good conditions, but some solvent-based formulations require 24 hours. Temperature, dew, humidity, and the product instructions remain decisive.
Can you varnish wood that is still sticky?
No, it is better to wait and identify the cause of the stickiness. A new coat may prolong the defect, create marks, and make touch-ups more difficult.
Is it always necessary to sand between two coats of varnish?
No. Light sanding can be useful to smooth fibers or improve adhesion, but some products can be applied directly over each other. Follow the technical data sheet and never sand a film that is still soft.
How long should you wait before using the furniture?
The time before light use can be shorter than the full curing time. Wait at least the time indicated by the manufacturer and avoid heavy loads, water, and repeated rubbing until the finish is completely cured.