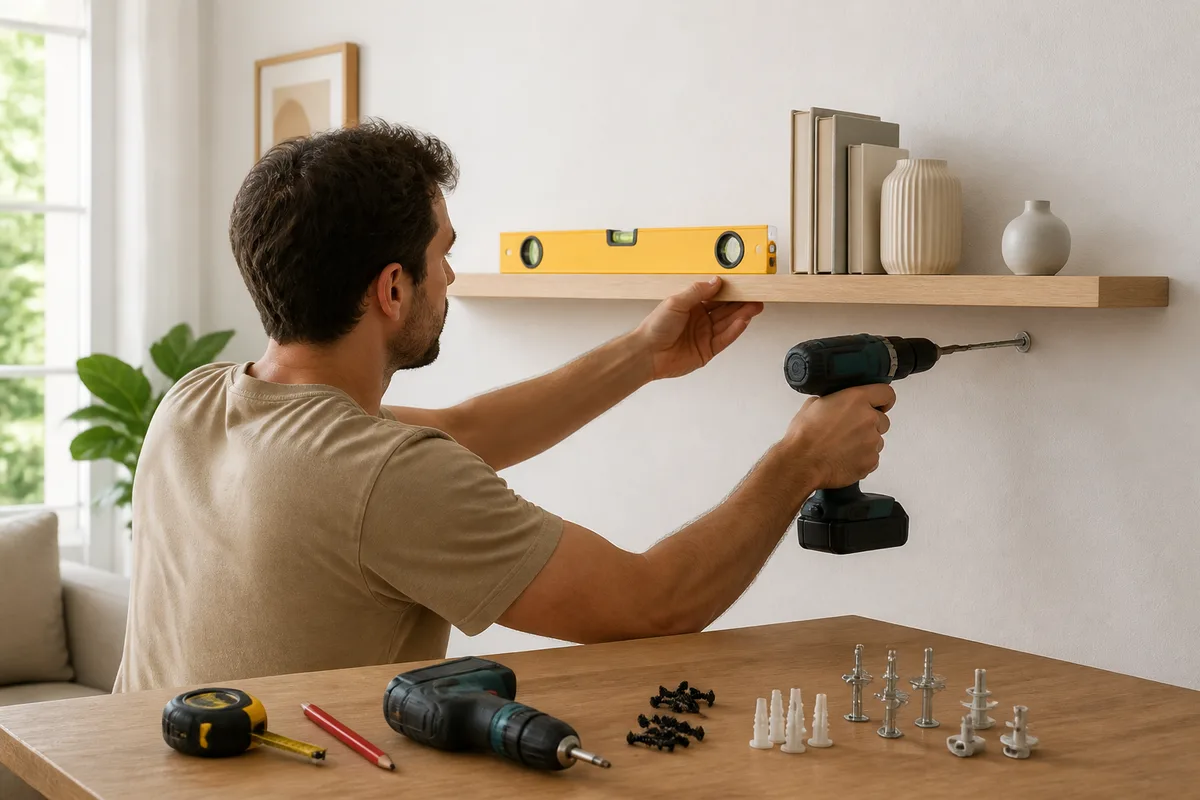
Installing a Straight Shelf on a Drywall: Simple Method and Durable Fixing
Installing a shelf on drywall mainly requires choosing the right anchor and properly distributing the weight. On a hollow partition like BA13, a simple screw is not enough: it risks pulling out as soon as the shelf holds books, dishes, or heavy objects.
This tutorial explains how to check the wall, locate a possible stud, select a drywall anchor, draw a perfectly horizontal line, and fix the brackets without weakening the partition. The method is suitable for a beginner equipped with common tools, with clearly indicated limits for heavy loads.
In Brief
- 🔧 For a shelf on drywall, use a anchor suitable for a hollow partition, especially a metal expansion anchor for significant loads.
- 📏 Mark the fixing points with a spirit level and check the spacing between the brackets before drilling.
- ⚖️ A properly installed Molly anchor is sometimes rated for about 20 to 25 kg per point, but this indication varies depending on the model, the board, the load, and the installation.
- 🛑 For very heavy loads, locate the metal studs or have the partition reinforced by a professional.
Check the Wall Before Starting
Before installing a straight shelf on a drywall, identify the composition of the partition. Standard drywall is usually a board fixed on a frame, with an empty space behind it. This setup explains why classic anchors intended for masonry are not always suitable.
Identify the Type of Partition
Tap gently on the surface with your finger: a hollow sound suggests a drywall partition, while a duller sound may indicate a masonry support behind the finish. This check is indicative. A small test drilling, done in a discreet area and after checking for utilities, helps better understand the structure.
Do not choose the fixing before determining whether you are drilling a hollow board, a metal stud, or a solid support. The thickness of the board, the presence of a lining, and the available space behind the wall directly influence the choice of hardware.
Locate the Studs and Utilities
Vertical metal rails or studs can offer a more solid anchor than a fixing taken only in the board. To locate them, use a suitable detector or a sufficiently strong magnet, then confirm the location by visible construction clues. Do not rely on a single indicator.
Before drilling, move furniture away and check for possible electrical cables or pipes. Do not drill immediately near an outlet, switch, or water point without additional precautions. If in doubt, stop the installation and seek qualified advice.
A durable fixing starts before the first hole: knowing the support prevents compensating later for a poor anchor by over-tightening.
How to Choose the Fixing for a Shelf on Drywall?
For a light shelf, a special drywall anchor may be suitable. For a shelf intended for books or heavy objects, favor a metal expansion anchor, often called a Molly anchor, following the manufacturer’s instructions. When the load becomes significant, fix if possible into a stud or plan for reinforcement.
Compare solutions according to load
| Solution | Appropriate use | Advantage | Limit to know |
|---|---|---|---|
| Light special drywall anchor | Small shelf and light objects | Simple and quick installation | To avoid for heavy or deep loads |
| Molly anchor | Medium to heavy weight shelf | Expansion behind the panel and good distribution of effort | More precise installation; capacity depends on model and support |
| Toggle anchor | Distributed load when space behind the panel allows | Wide support behind the partition | Difficult removal and dimensions to check before drilling |
| Fixing into a metal stud | Long shelf or concentrated load | Uses a structural element of the partition | Support positioning depends on stud location |
| Cleat fixed to the wall | Long board or need to distribute forces | Multiplies anchoring points | Requires more marking and drilling |
A properly installed Molly anchor can be rated around 20 to 25 kg per fixing point according to guides and models, but this value does not constitute a universal guarantee. It must be verified on the packaging or manufacturer’s instructions. The actual weight includes the shelf, the supports, and everything placed on it.
To deepen the choice of diameter and length, consult our article dedicated to the size of a Molly anchor for BA13. The product reference, panel thickness, and screw length must correspond.
When should the fixing be reinforced?
Reinforcement becomes relevant when the shelf is long, deep, loaded with books, or likely to receive forward force. A cleat fixed at several points can better distribute forces than a series of isolated fixings. For very heavy loads, first try to screw into metal studs or have the partition checked.
The number of anchors does not automatically transform a fragile partition into a heavy-duty support: spacing, weight distribution, and quality of each installation count as much as the number of points.
Prepare the necessary equipment
Gather all equipment before marking. Complete preparation limits diameter errors and avoids holding the shelf in balance while searching for a tool.
- a tape measure, a pencil, and a spirit level;
- a drill-driver with a bit adapted to the diameter indicated for the anchor;
- special drywall anchors and corresponding screws;
- a metal expansion anchor plier if the model requires it;
- the brackets or shelf supports;
- a network detector or a stud finder tool;
- a stable step ladder, safety glasses, and a vacuum cleaner to collect dust.
Also check the length of the screws. It must be longer than the length of the anchor and the thickness of the support to be fixed, without being unnecessarily long. An ill-fitting screw can prevent the correct expansion of the anchor or touch an element located behind the panel.
How to install a shelf on plasterboard step by step?
The installation follows a precise sequence: determine the height, align the supports, drill without percussion, install the anchors, then check the empty shelf before loading it. Work slowly when marking and tightening, as plasterboard can deteriorate if the screw turns in empty space.
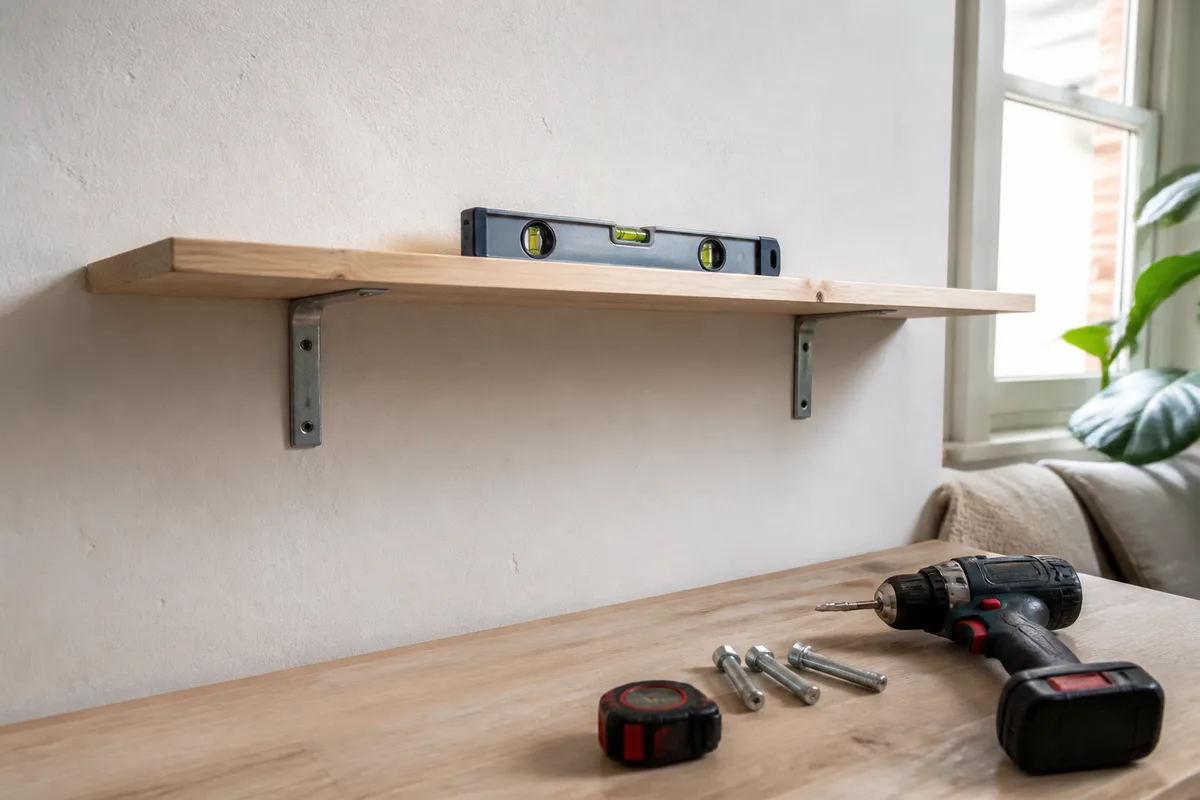
Step 1: Determine the height and draw the line
Measure the desired height from the floor or from a nearby piece of furniture. Transfer this measurement to several points, then connect the marks with a light line. Place the level on this line and adjust it until the bubble is centered.
Then add the thickness of the shelf if your marks correspond to the top or bottom of the support. This check avoids a common mistake: marking the height of the board when the holes correspond to the axis of the brackets.
Step 2: Position the supports
Place the brackets under the shelf taking into account its length and depth. The supports must remain sufficiently far from the ends to avoid weakening the board, but not so far as to allow the center to sag.
For a 2-meter shelf, four brackets spaced about 50 cm apart are sometimes suggested as a distribution reference. This is an order of magnitude, not a universal rule: the material, board thickness, depth, and expected load may require a different setup.
Step 3: Drill the plasterboard without weakening it
Mark the holes through the plates of the supports, then remove the brackets. Check one last time that there are no networks at the planned location. Drill with a controlled movement, without activating the hammer function, and use the diameter indicated by the anchor manufacturer.
Keep the drill perpendicular to the wall. Do not widen the hole by moving the bit laterally: an overly large hole reduces the anchor’s grip and encourages its displacement. Vacuum the dust without pushing a tool into the board.
Step 4: Install the anchors
Insert each anchor until its collar contacts the board, without pushing it in abruptly. For a Molly anchor, use the pliers provided if the instructions require it. The wings must deploy behind the board and form a stable support.
Do not replace this step with a simple screw directly screwed into the plasterboard. Such a fixation offers limited anchoring and can tear out when the load pulls forward.
Step 5: Screw in the supports
Reposition the brackets facing the anchors. Start the screws by hand for a few turns, then tighten progressively alternating the fixation points. Stop as soon as the support is firmly held: crushing the board under excessive tightening does not strengthen the assembly.
Check the horizontal alignment of the supports before permanently fixing all points. If a support moves, loosen it, check the anchor, and fix the problem instead of forcing the screw.
Step 6: Place the shelf and perform the final check
Place the board on the supports and fix it from underneath if the brackets have holes provided for this purpose. Use screws whose length does not go through the board. Then place the level on the shelf, first along the length and then the depth.
Start the test with a light and distributed load. Observe the supports, the board, and the area around the anchors. Any movement, cracking, a collar that spreads, or a board that deforms requires removing the load and reviewing the fixation.
How to distribute the load and choose between alternatives?
A wall shelf exerts a forward pull, especially when it is deep and loaded at its edge. The fixation must therefore resist a different force than that of a simple picture frame. Distribute heavy objects near the supports and avoid concentrating all the load in the middle of the board.
Anchors, studs, or cleats: which solution depending on the case?
Molly anchors are often suitable for a medium-weight shelf when properly sized and installed. A metal stud becomes preferable when it is in the right place. For a long board, a cleat fixed at several points can limit concentrated forces.
- Small decorative shelf: special plasterboard anchor suitable for a light load.
- Bookshelf: distributed brackets and metal expansion anchors, with load control as indicated.
- Long or deep shelf: multiple supports, locating studs, and possibly a reinforcing cleat.
- Very heavy load: reinforcement of the partition or intervention by a qualified professional.
Can you fix a shelf without drilling?
Assembly glue or adhesive sealant may be suitable for a very light decorative shelf, if the manufacturer allows its use on plasterboard and if the surface is clean. This solution does not replace mechanical fastening for books, dishes, or a deep shelf.
Adhesives and no-drill solutions are also sensitive to dust, paint, moisture, and the leverage created by the load. For a shelf fastening on a hollow wall intended to last, appropriate anchors remain the most controllable solution.
No drilling does not mean no limits: an adhesive solution should be reserved for light loads and compatible surfaces.
What mistakes should be avoided when installing a shelf on plasterboard?
Problems rarely come from the shelf alone. They mostly appear when an unsuitable fastener, an improperly sized hole, or an unevenly distributed load gradually weakens the board.
- Using a standard plastic anchor: it may provide insufficient support in a hollow partition. Choose a fastener specifically designed for plasterboard.
- Forcing a screw that spins freely: the hole may be too large or the anchor poorly deployed. Remove the load and replace the fastener.
- Using percussion mode: vibrations can damage the edge of the hole. Drill without percussion with a controlled diameter.
- Relying solely on the weight indicated on an anchor: this value does not always take into account leverage and the depth of the shelf. Read the full product instructions.
- Loading the shelf to maximum immediately: the installation must first be checked empty, then with a progressive and well-distributed load.
What to do if the shelf tilts or a fastener moves?
A tilting shelf may result from an imprecise marking, a poorly positioned support, or a slightly warped board. A moving fastener signals a more serious problem: do not hide the defect with extra tightening, as you risk enlarging the hole in the board.
Correcting a shelf that is not straight
Remove objects, place the level on the board and identify the direction of the tilt. Slightly loosen the supports, reposition the one that is misaligned, then gradually retighten. If the wall or board has a defect, a thin rigid shim placed between the support and the surface can correct the angle, provided it does not compromise the support.
Replacing a fastener that does not hold
Remove the defective screw and anchor, then inspect the board around the hole. If it is torn or crumbly, do not reuse the same spot with the same type of anchor. Shift the fastening point, use an appropriate reinforcement, or call a professional if the load is significant.
When the wall has a nearby metal stud, it may be possible to reposition the support to anchor the screw there. For a long shelf, a batten fixed on a healthy area distributes forces better than an isolated fastener in an already damaged board.
Useful sources to consult
Load capacities should not be generalized from one model to another. Before purchase, check the anchor’s technical sheet, drilling diameter, accepted board thickness, and the load announced by the manufacturer in the configuration corresponding to your wall.
- Anchor manufacturer’s instructions: diameter, support thickness, expansion method, and indicative load.
- Plasterboard documentation: type of board, framework, and any fastening limits.
- Shelf and bracket instructions: screw sizes, spacing, and load planned for the support.
- Qualified professional: necessary check for heavy loads, a degraded wall, or doubts about networks.
Key Takeaways
- 🧱 Identify the type of partition and locate the networks before drilling.
- 🔩 Choose a plug designed for drywall; a Molly anchor is often suitable for heavier loads.
- 📐 Use a level and distribute the supports along the entire length of the shelf.
- ⚠️ Consider the stated loads as indicative and always check the instructions of the model used.
- 🛠️ For very heavy loads or damaged drywall, plan for reinforcement or professional intervention.
A successful installation relies on three checks: the support, the fixing, and the actual load. Perform them before filling the shelf.
Frequently Asked Questions
Which plug should I choose for a shelf on drywall?
For a light load, choose a special drywall plug adapted to the diameter of the support. For a heavier shelf, a metal expansion anchor like a Molly anchor is generally more appropriate, provided its instructions and the actual capacity of the partition are respected.
Can a heavy shelf be installed on drywall?
Yes, but the fixing must be sized for the load and forward force. Locate the metal studs, distribute the supports, and consider a batten or reinforcement when the shelf is long, deep, or heavily loaded.
How can I tell if a fixing is solid?
A properly installed fixing does not turn freely and the support remains pressed against the wall. First check the empty shelf, then add a progressive and distributed load. At the slightest movement, remove the objects and check the plug.
How many supports should be planned for a long shelf?
The number depends on the length, thickness, depth, and weight of the board. For a 2-meter shelf, four supports spaced about 50 cm apart can serve as a guideline, but the configuration must be adapted to the material and the load.
Can a shelf be fixed without finding a stud behind the drywall?
Yes, a hollow wall plug can secure the fixing when the stud is not accessible. For a heavy load, however, check the capacity indicated by the manufacturer and prefer reinforcement if the board creates a strong lever arm.